|
|
||
|---|---|---|
| docs/images | ||
| node_modules | ||
| resources | ||
| src | ||
| .eslintrc.js | ||
| README.md | ||
| example.env | ||
| package-lock.json | ||
| package.json | ||
| postcss.config.js | ||
| tailwind.config.js | ||
README.md
Portfolio
A massively over-the-top portfolio website to display stats, projects, skills, education and experience.
[TOC]
Background
My main reason for working on this project is due to my lack of open source projects, as well as my previous portfolio being heavily outdated. I also didn't want to have to edit the source code when adding a new project/skill or similar, so most of the content on this site is dynamic, and can be edited on the site through a simple, easy to use UI.
Pre-warning: Frontend development is not my forte, don't expect too much
Features
Projects
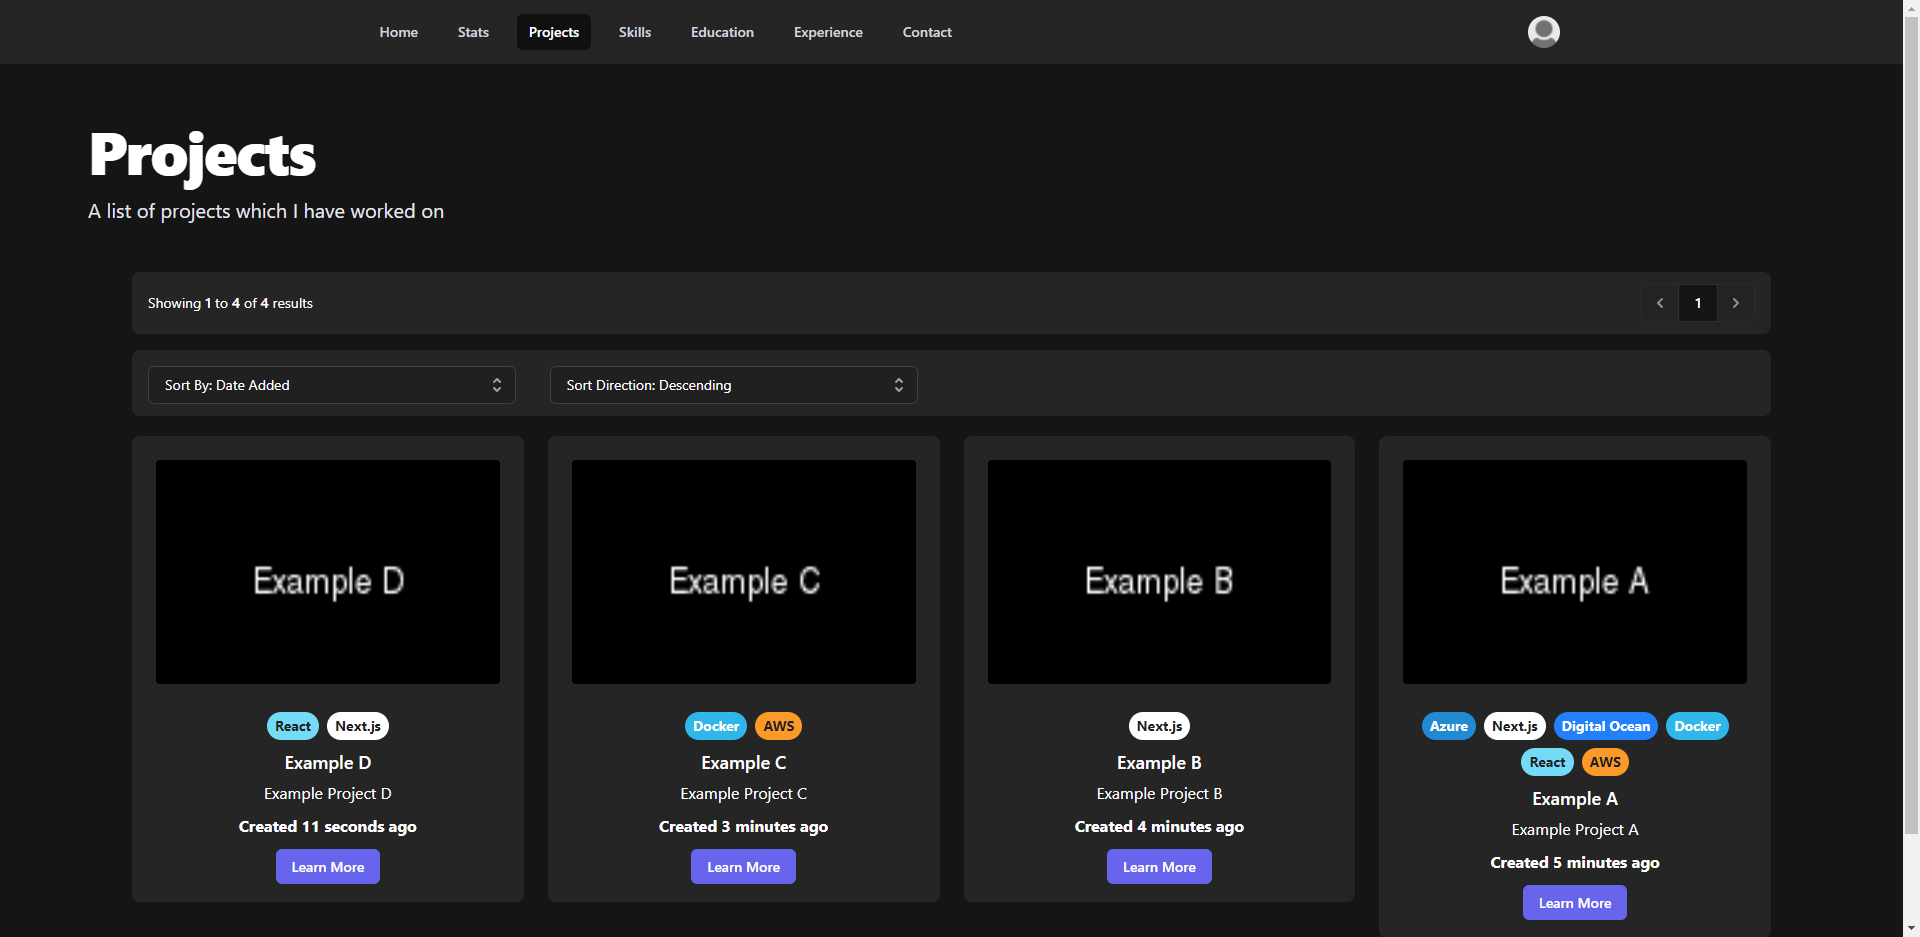
The main part of any portfolio are your projects. As time goes on, you're likely to add more and more projects causing a simple projects page can quickly become large and cluttered.
The projects page includes pagination, sorting by date added, project name, if the project is open source, ID in ascending or descending order and even filtering by a certain skill, simply by clicking on it!
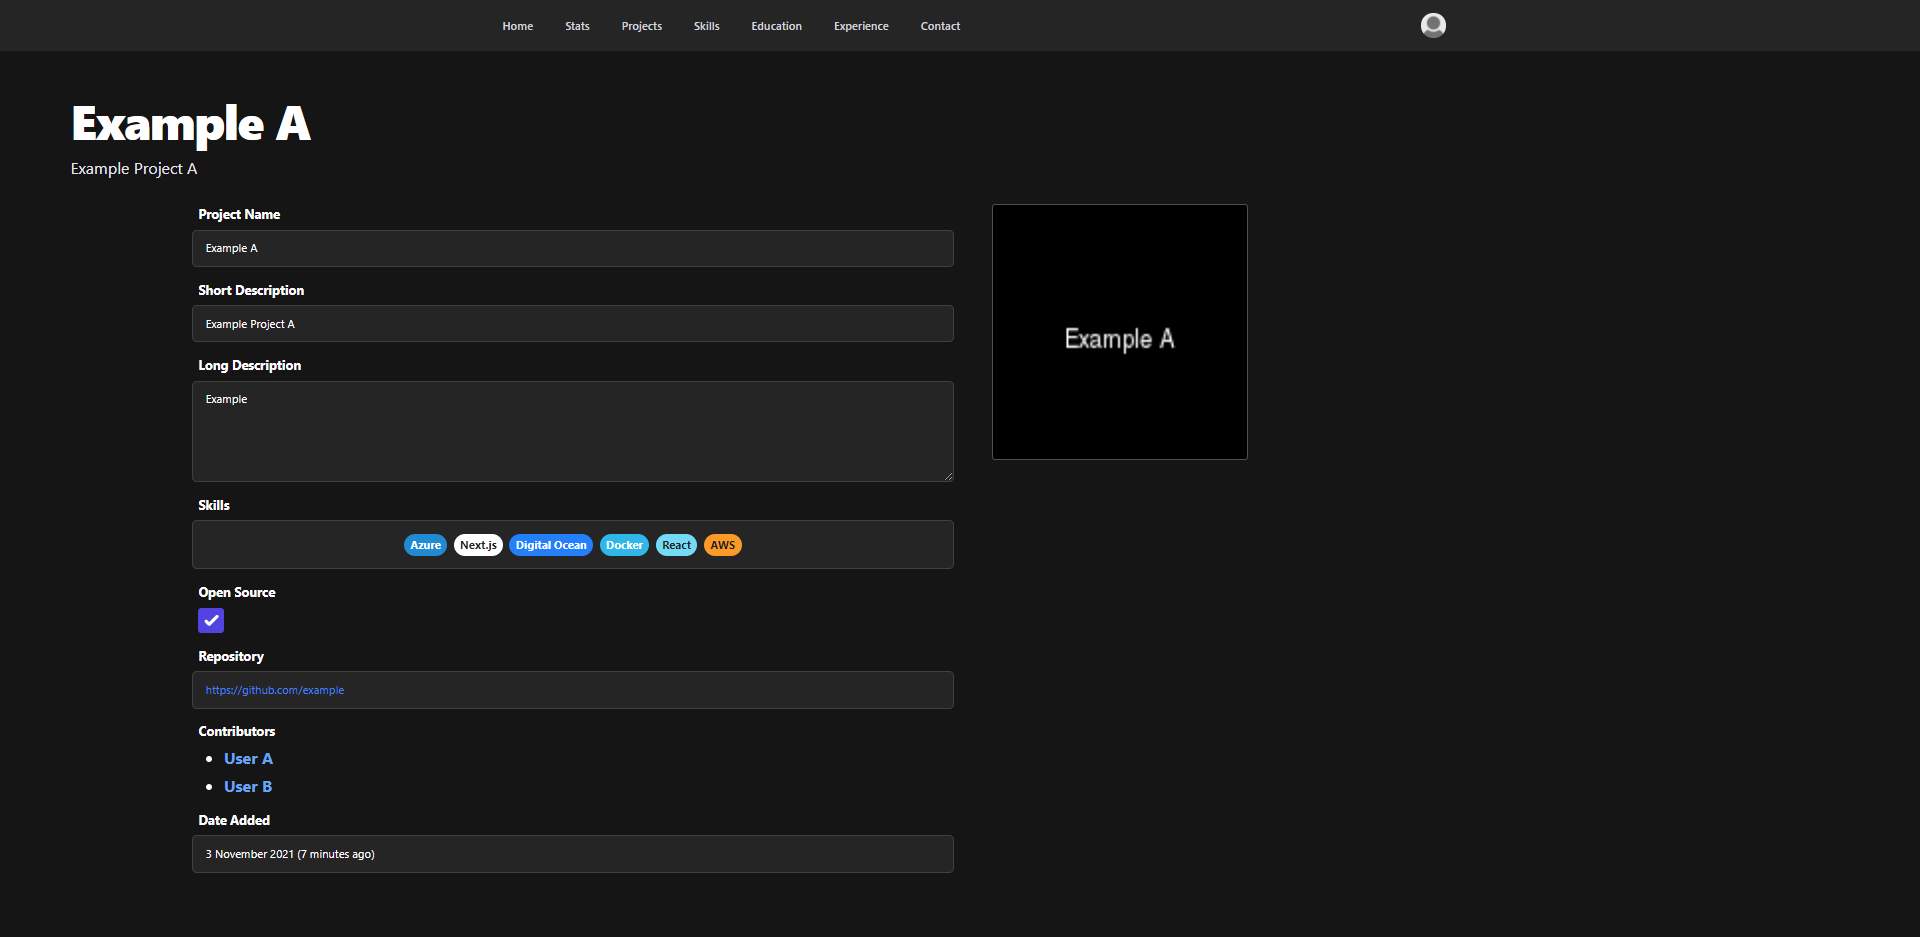
You can also click "Learn More" on each project to bring up all the details for that project on a single page!
Each project has the following information:
- Project Name
- Short Description
- Long/Detailed Description
- List of Skills (Technologies/Languages/Frameworks etc)
- Open Source
- Repository URL
- Contributors
- Date Added
- Image
Skills
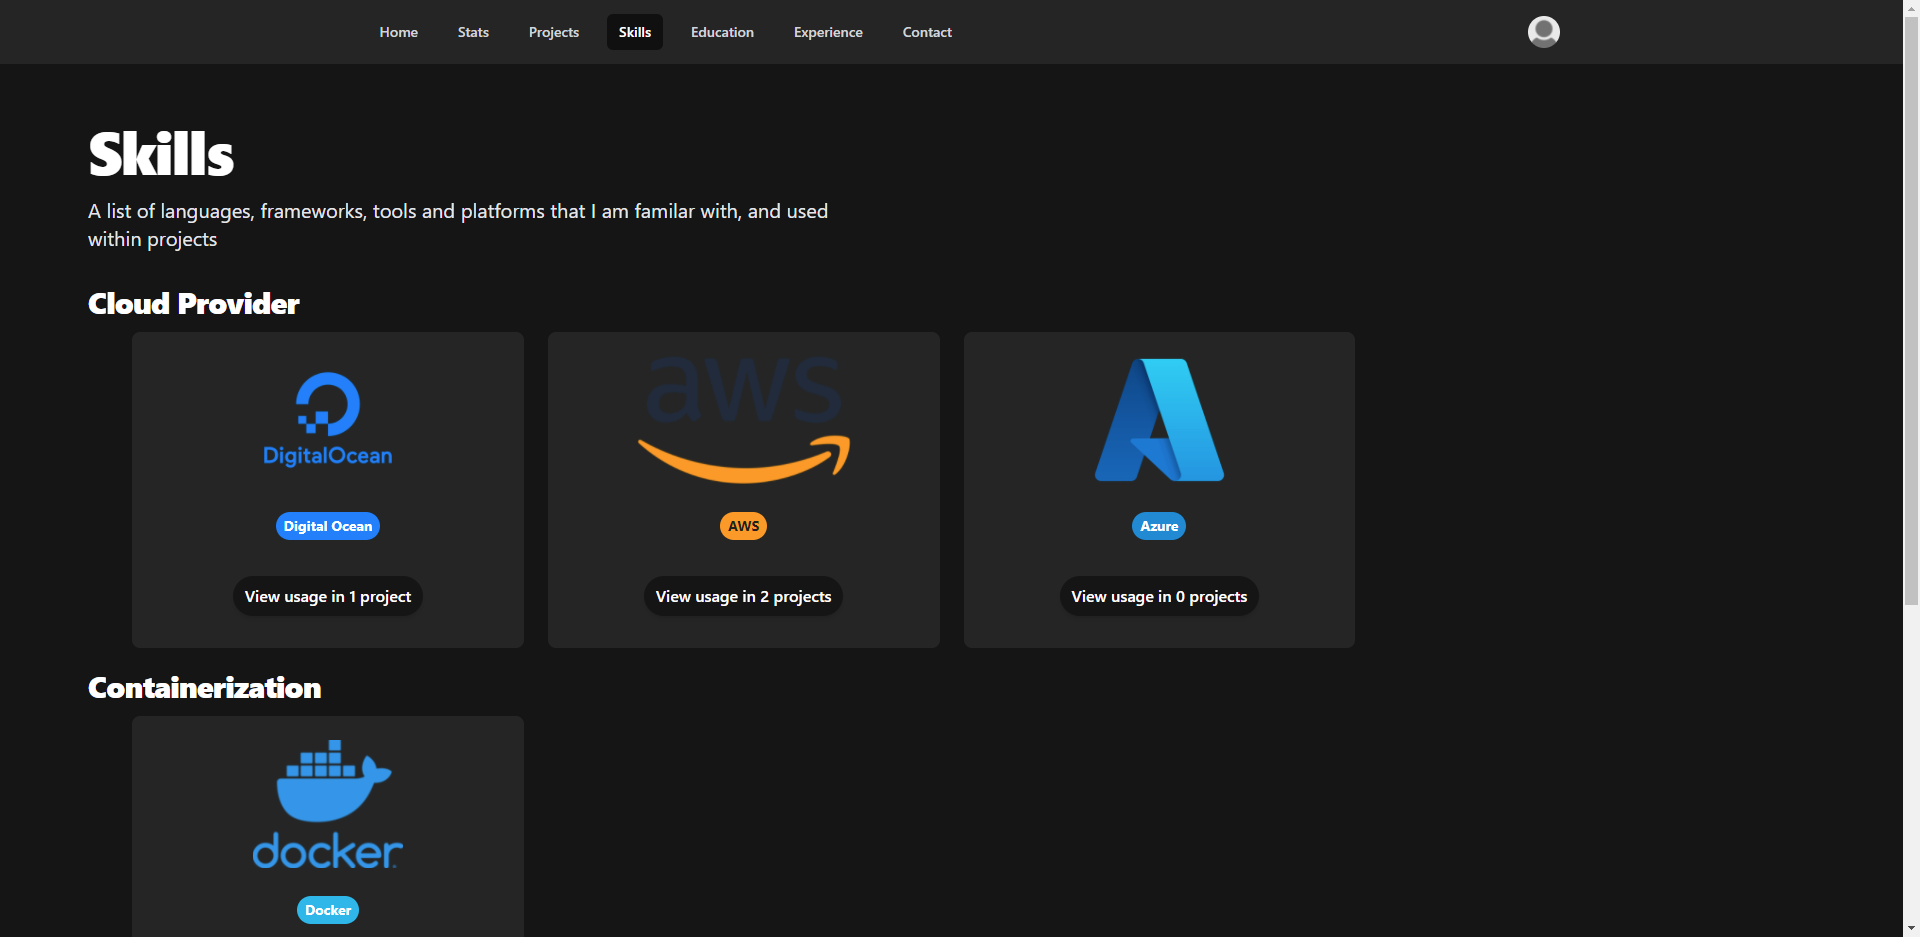
Skills are closely related to projects. Each project can have any number of skills assigned to it. Skills are grouped by their type, which can be anything you desire. For example, skills AWS, Azure, GCP can all be grouped by the type of "Cloud Provider", or you can group programming languages together.
On the skills page, it shows how many projects that skill is used in, including a button which can filter the projects by ones that use that specific skill.
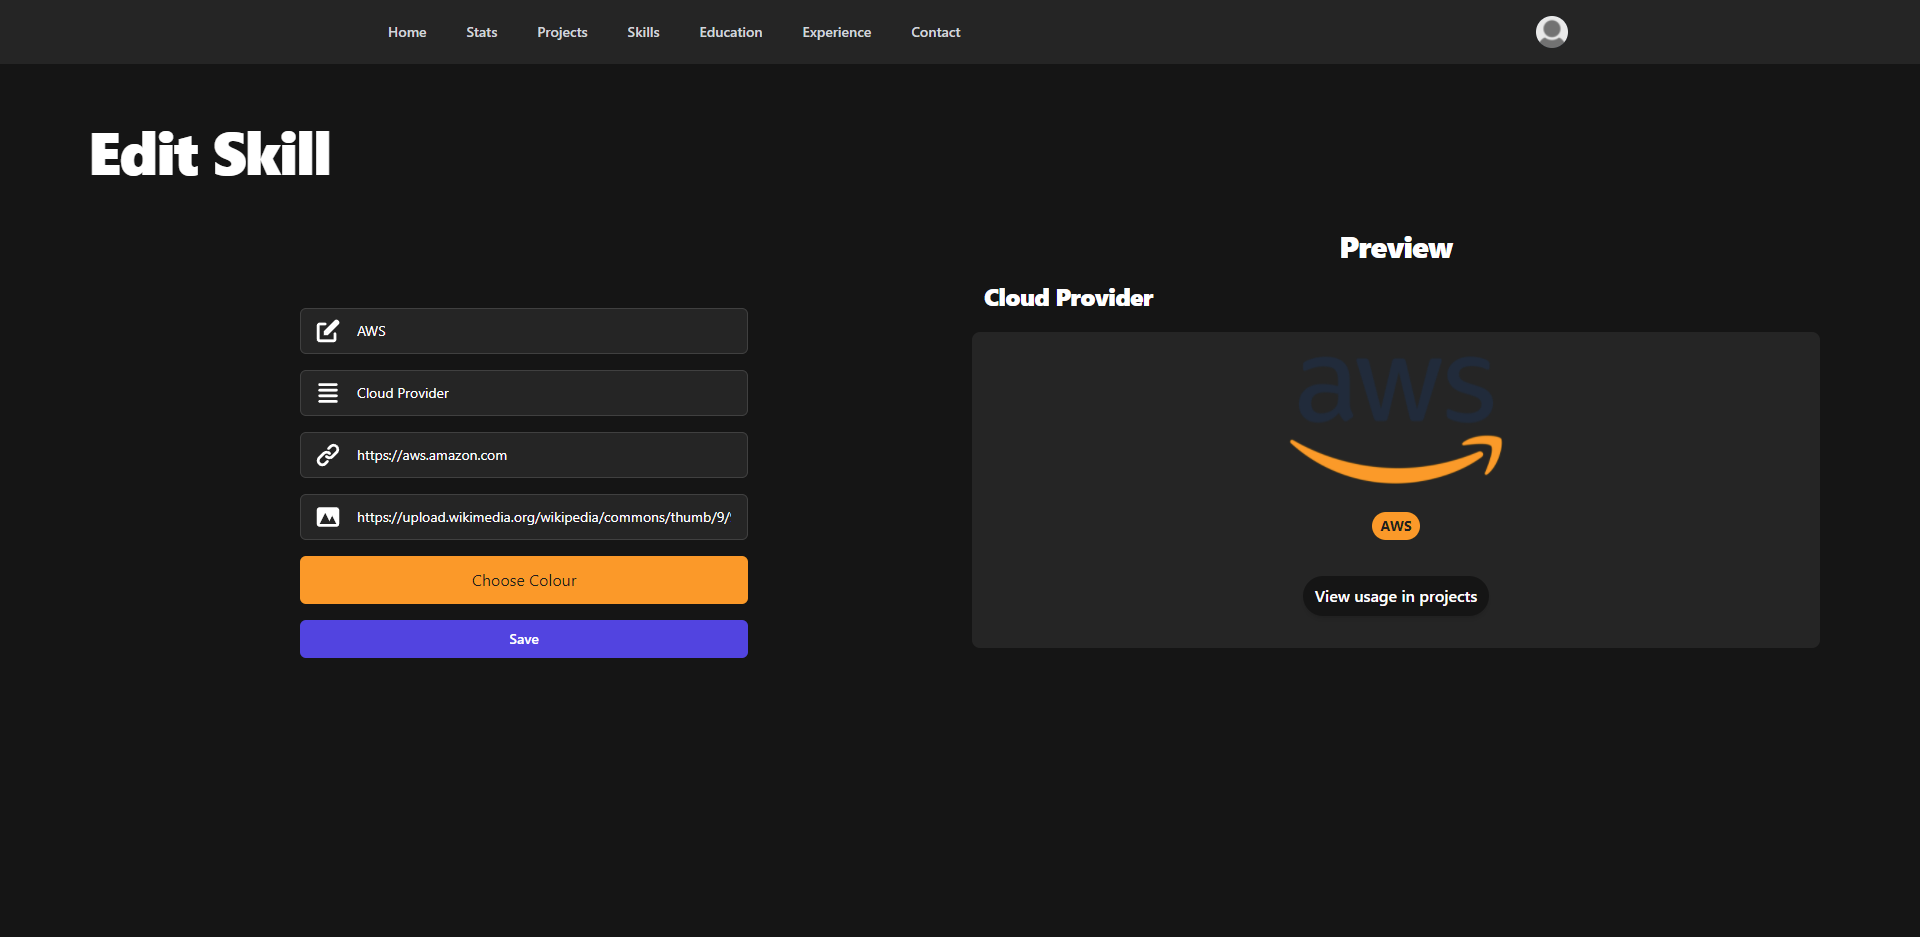
Each skill has the following information:
- Skill Name
- Type
- Link
- Image URL
- Badge Colour
Education
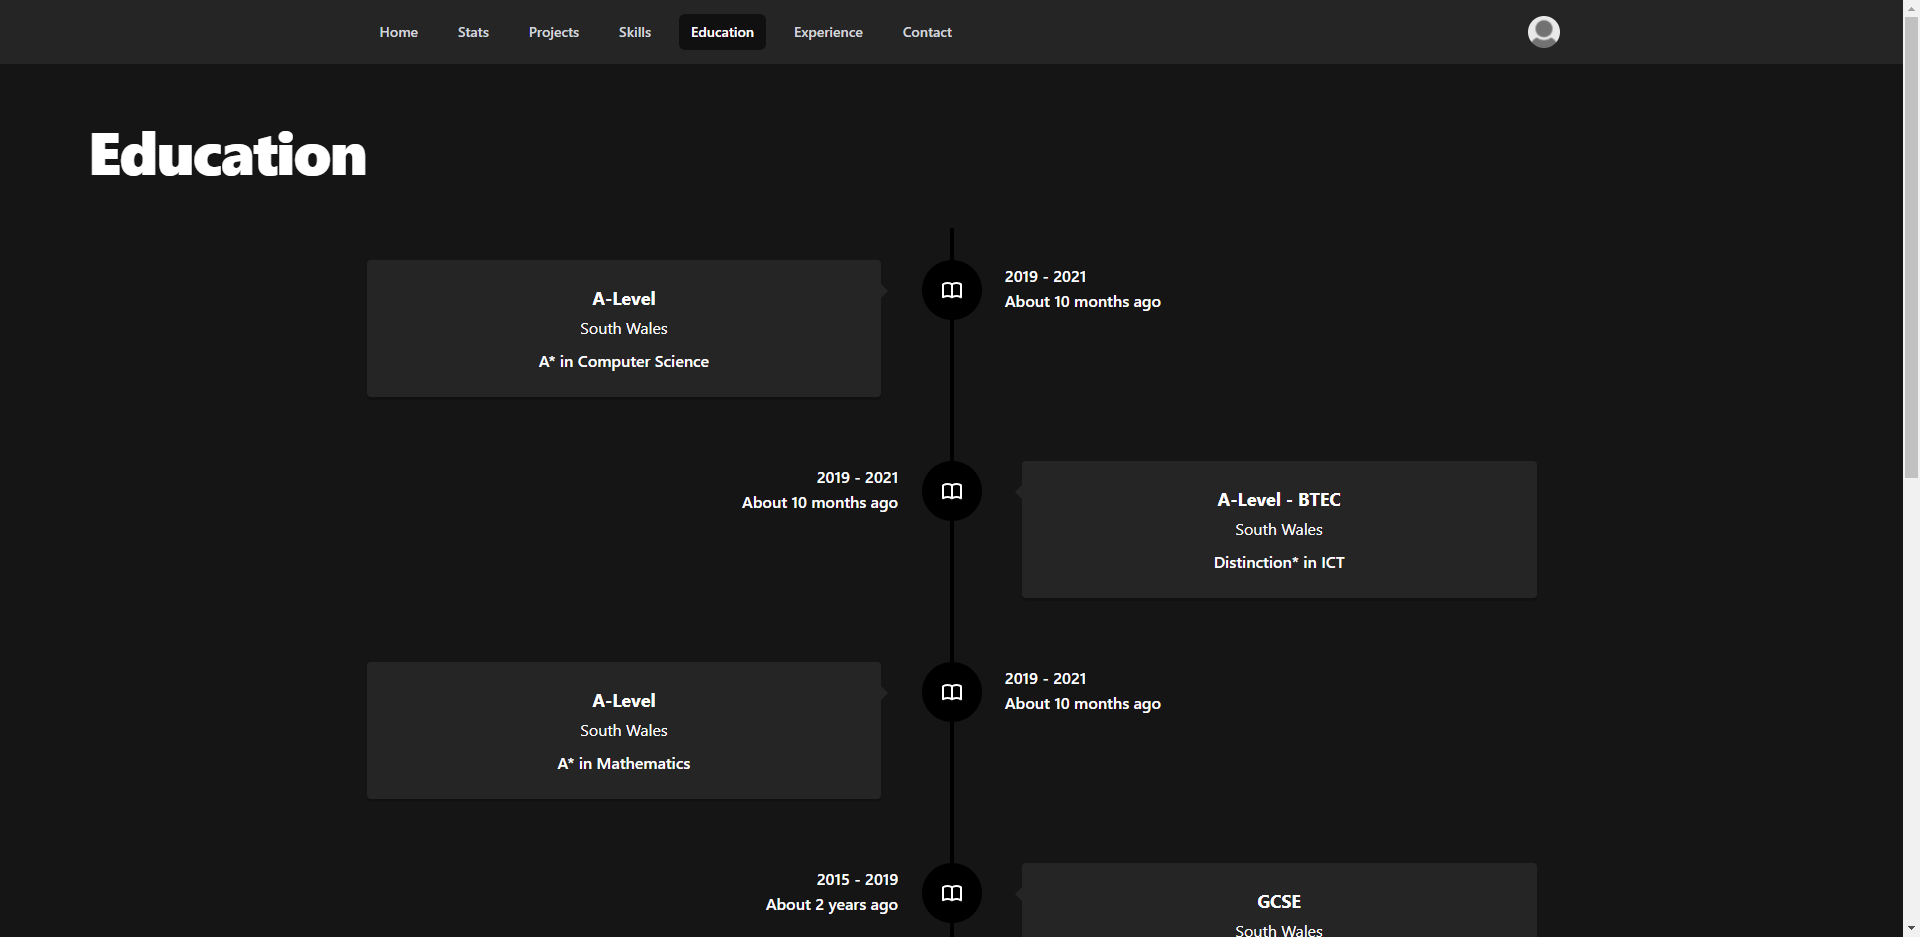
Your education history can be added to display a timeline of your qualifications, showing your most recent at the top, and oldest at the bottom. The start and ending year of each qualification is displayed, as well as the time since it ended.
Each education has the following information:
- Subject Name
- Education Level (GSCE, A-Level, Degree etc)
- Location
- Grade
- Start Year
- Ending Year
Experience
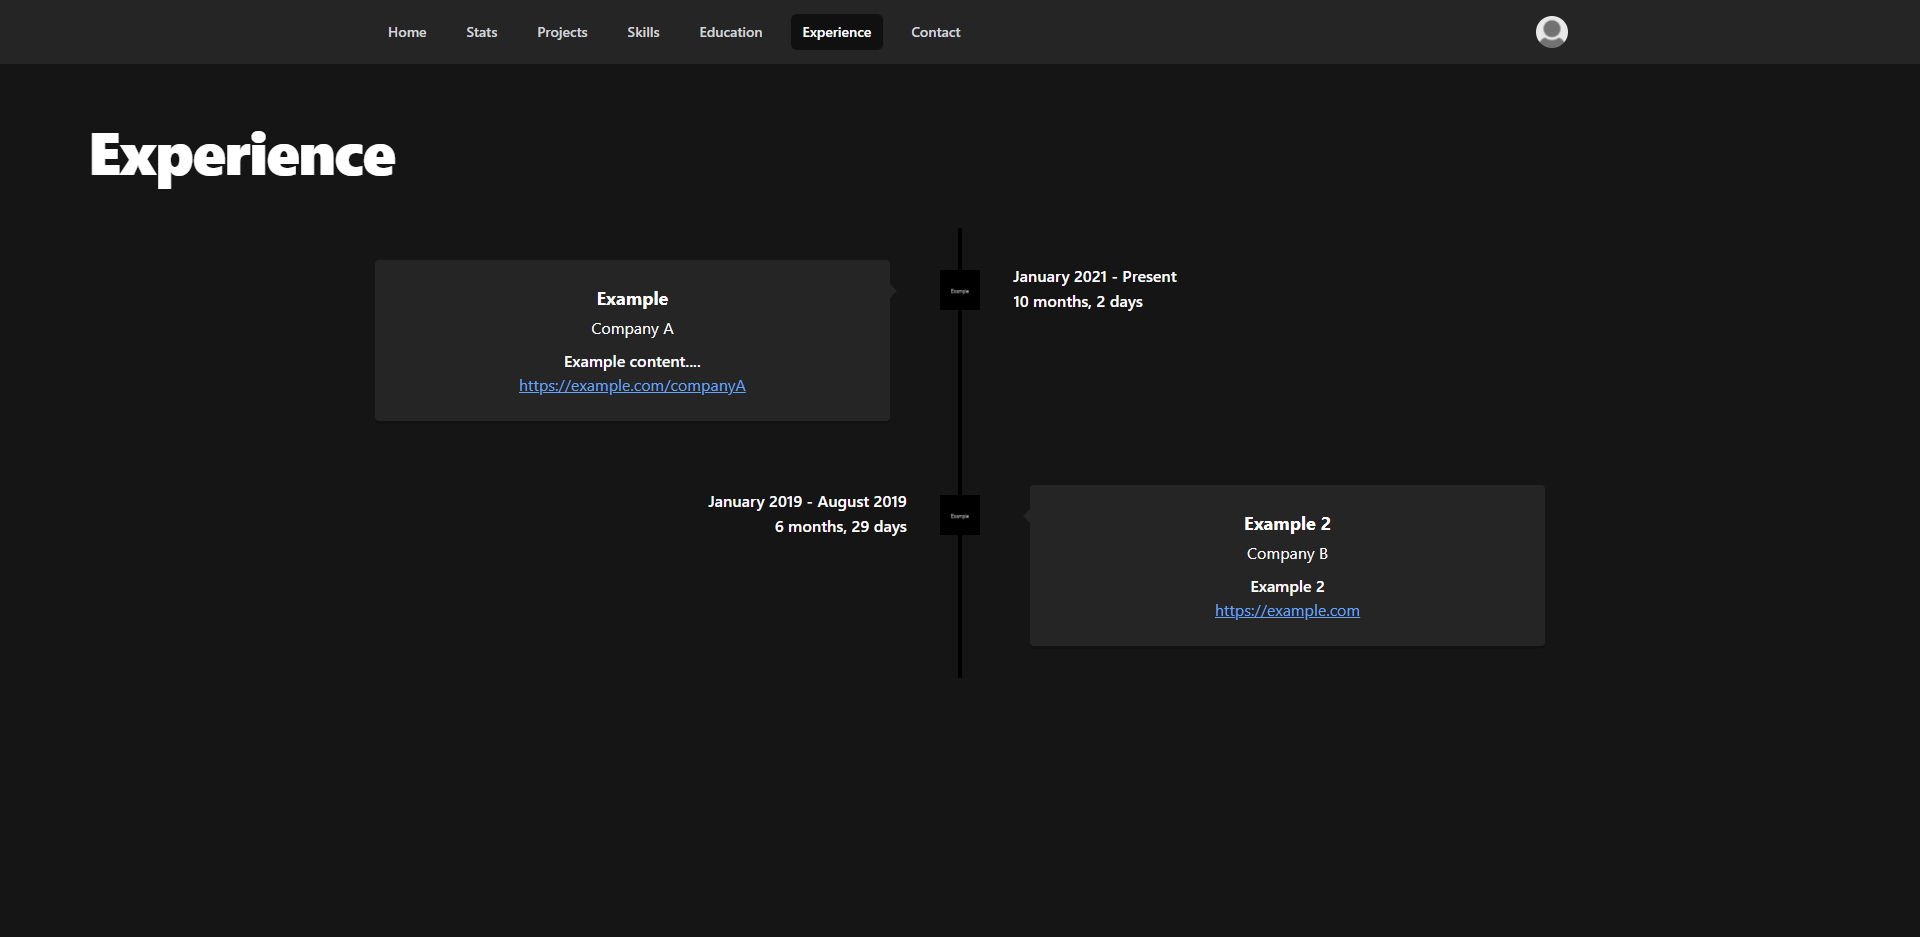
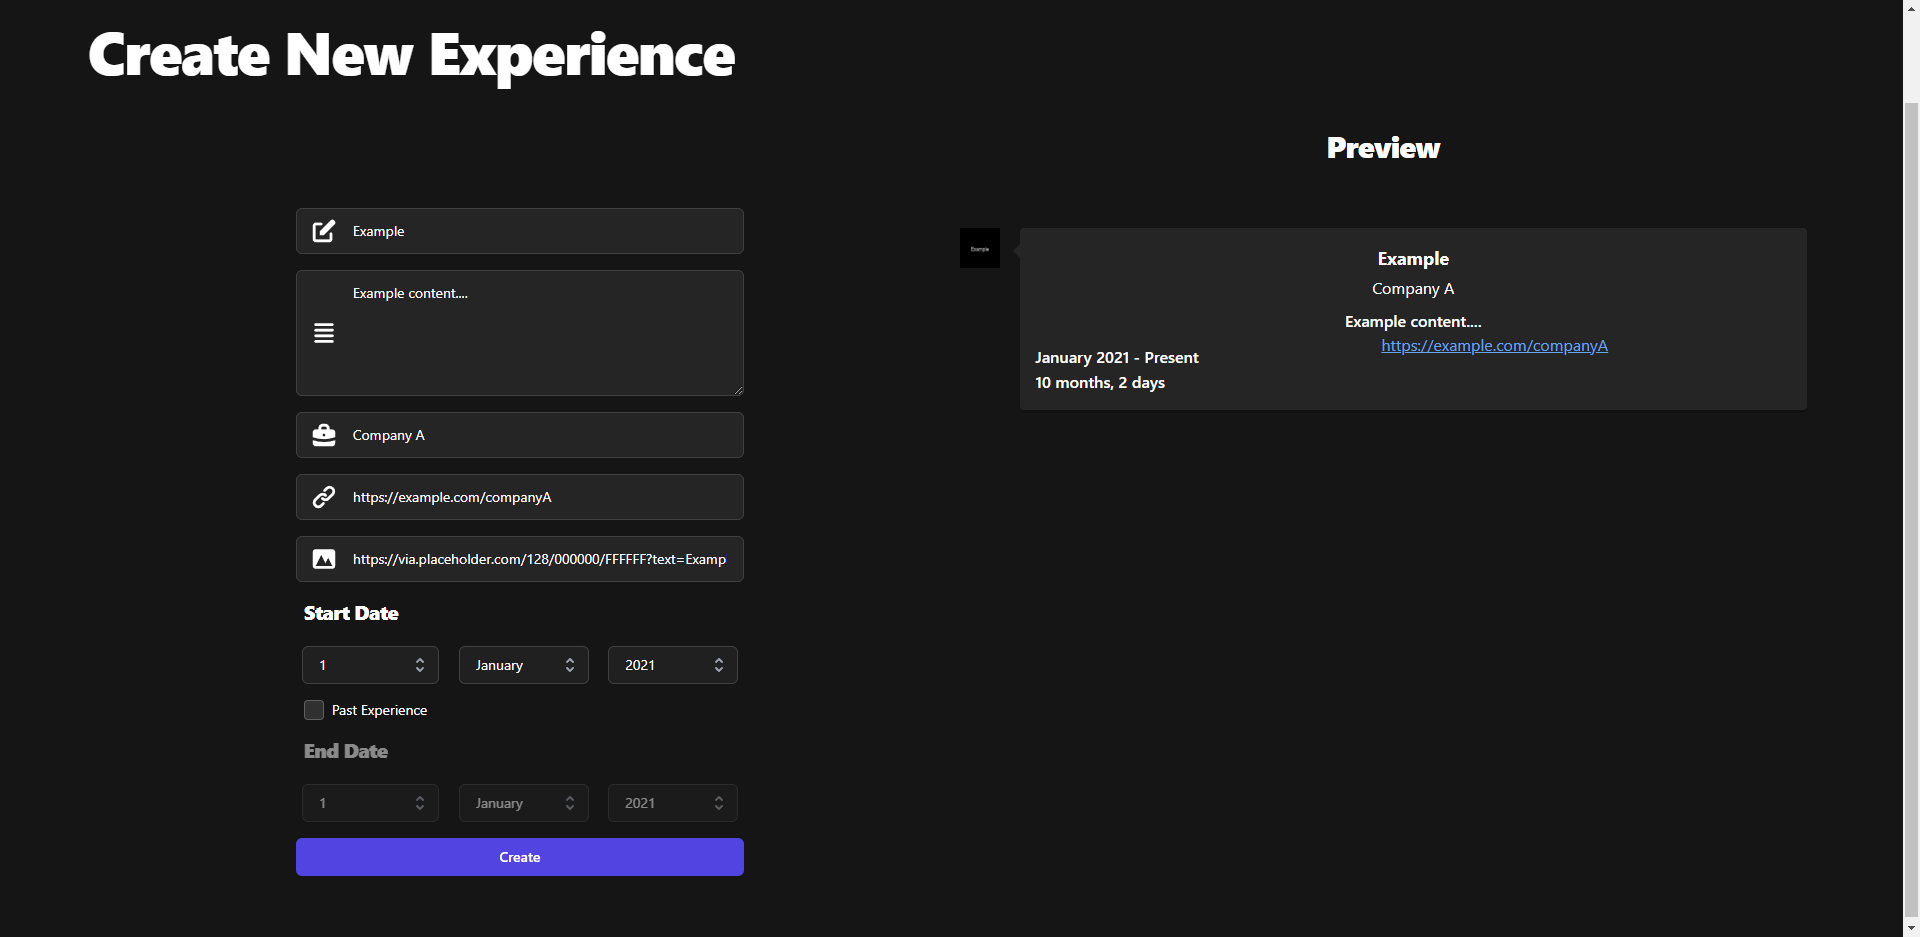
Experience is used to display previous employment or significant project experience. Experience is displayed on a timeline with the newest at the top. Current positions can also be added by omitting the ending date.
Each experience has the following:
- Job/Position Title
- Company
- Description
- URL
- Icon
- Starting Date
- Ending Date
Contacts
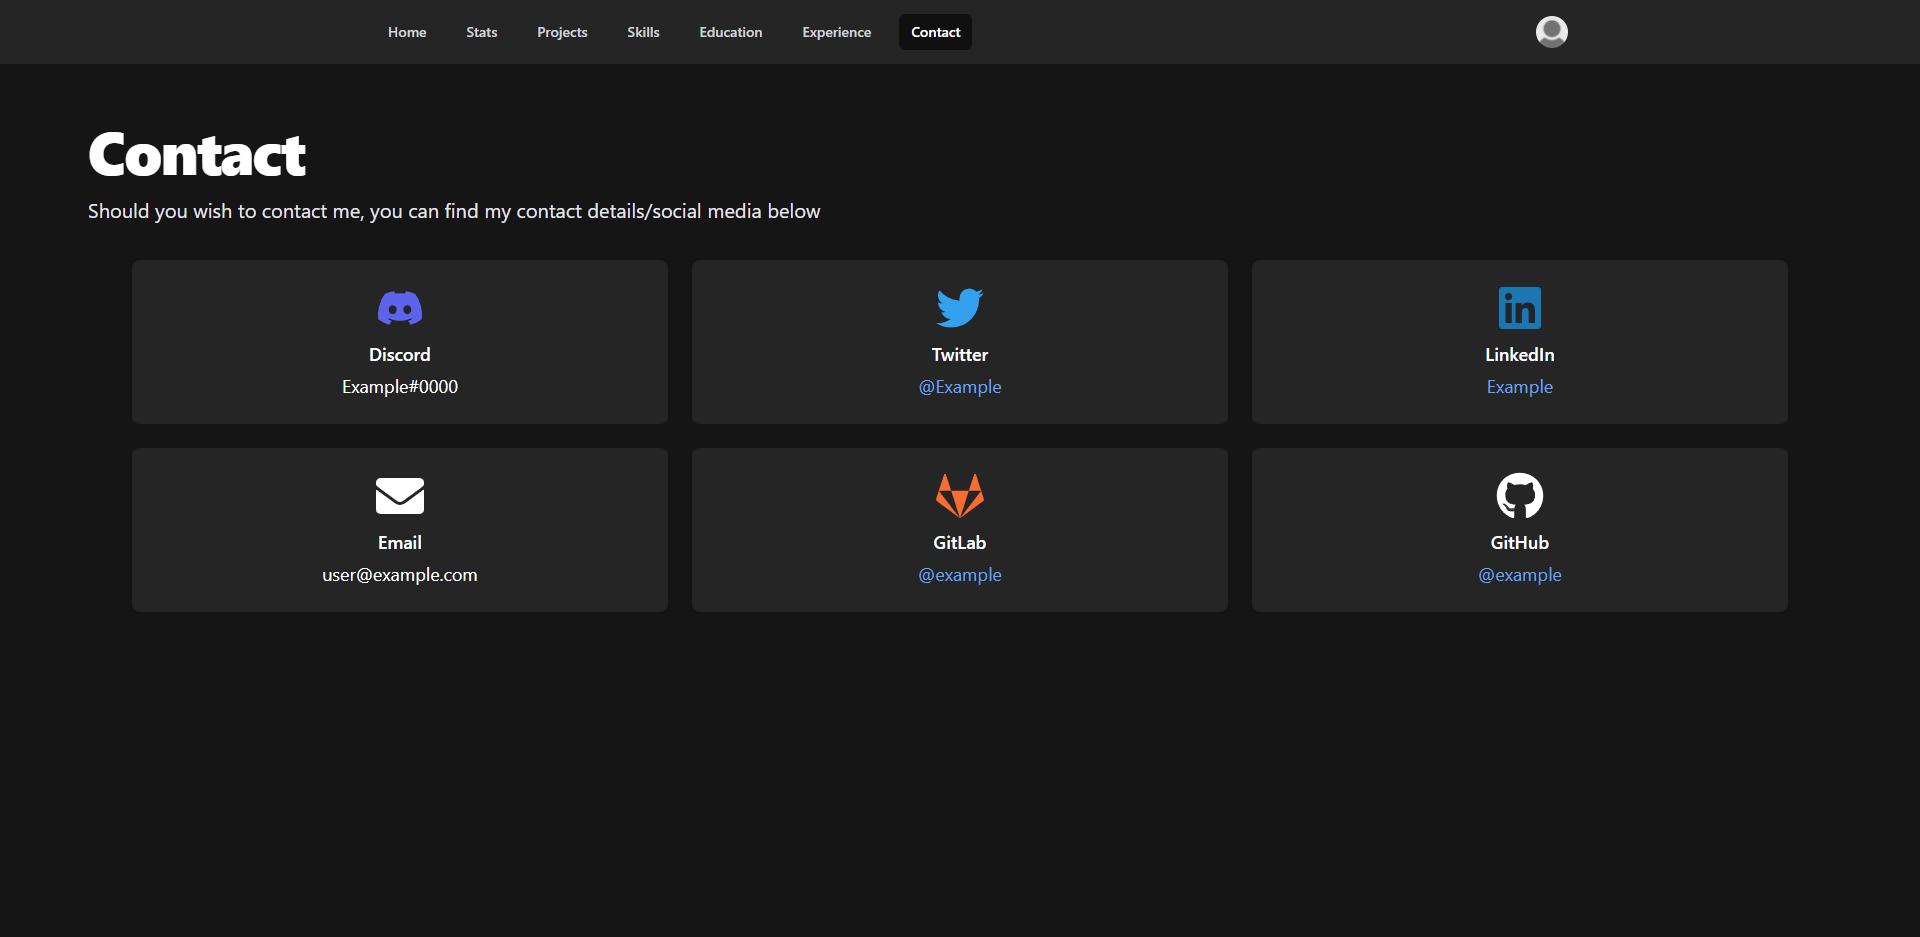
Should someone wish to contact me, this page contains a range of method of contact, or just generic social media.
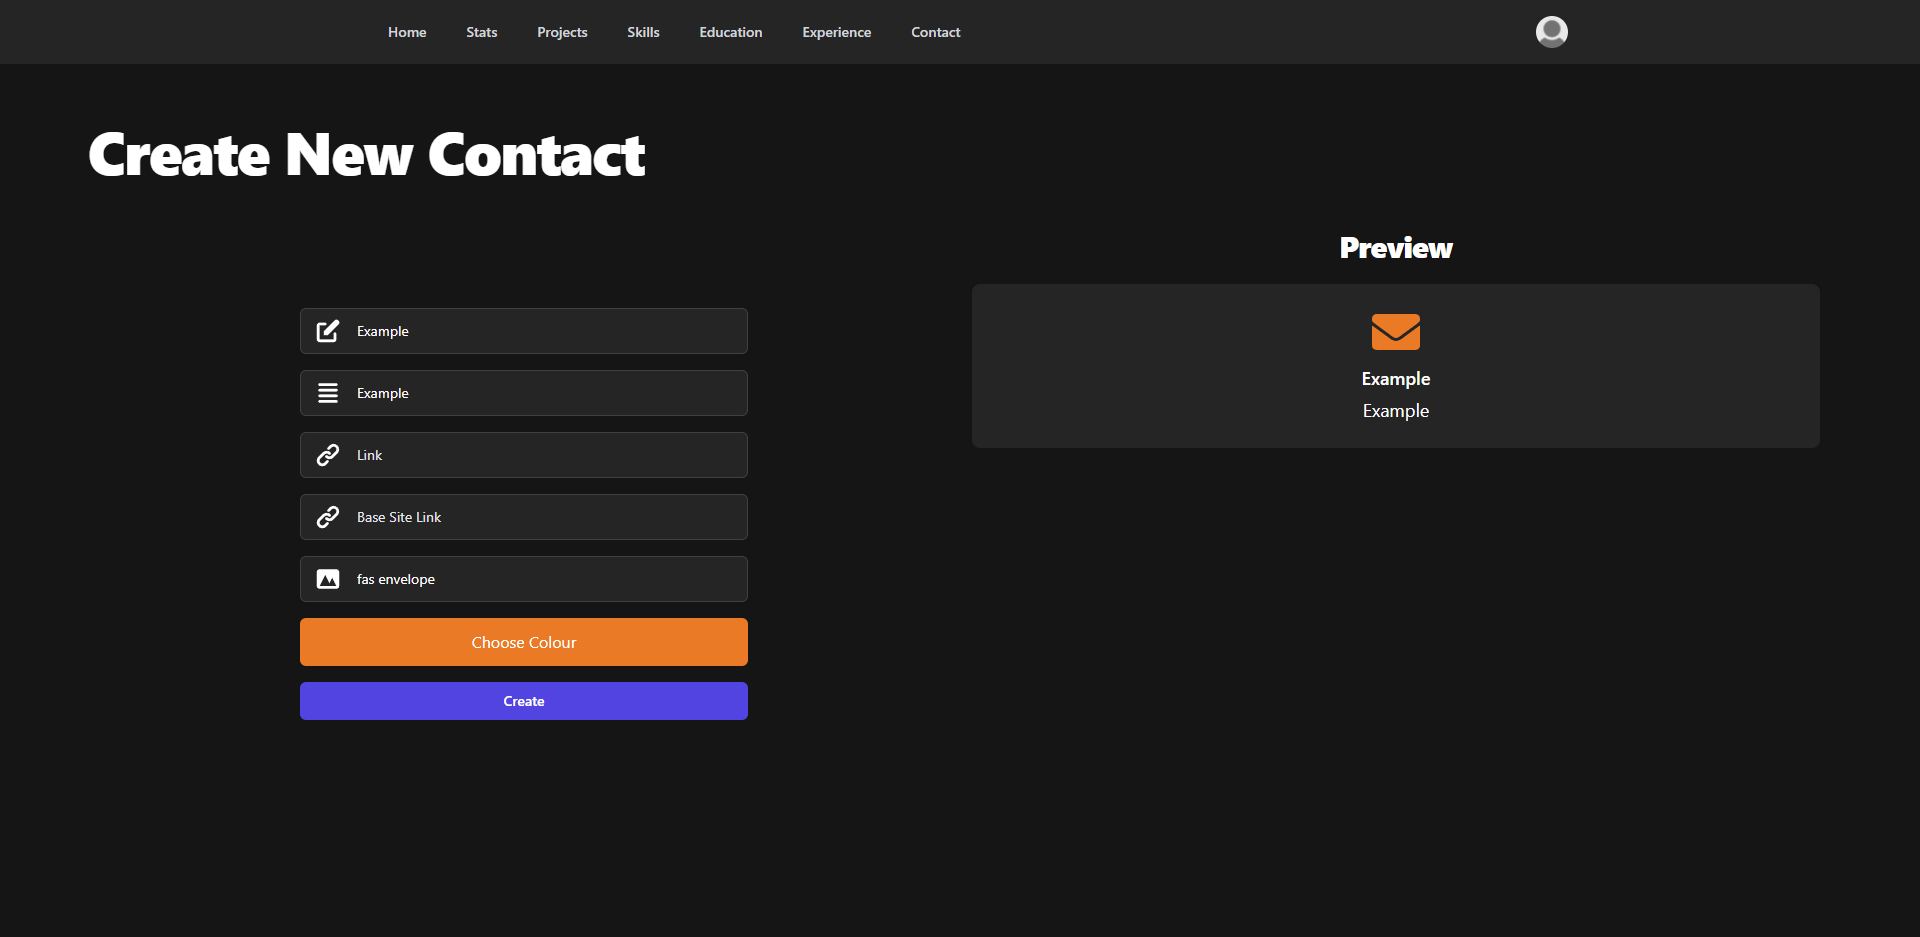
Each contact has the following:
- Title
- Text
- Link
- Base Site Link
- Icon
- Icon Colour
Stats
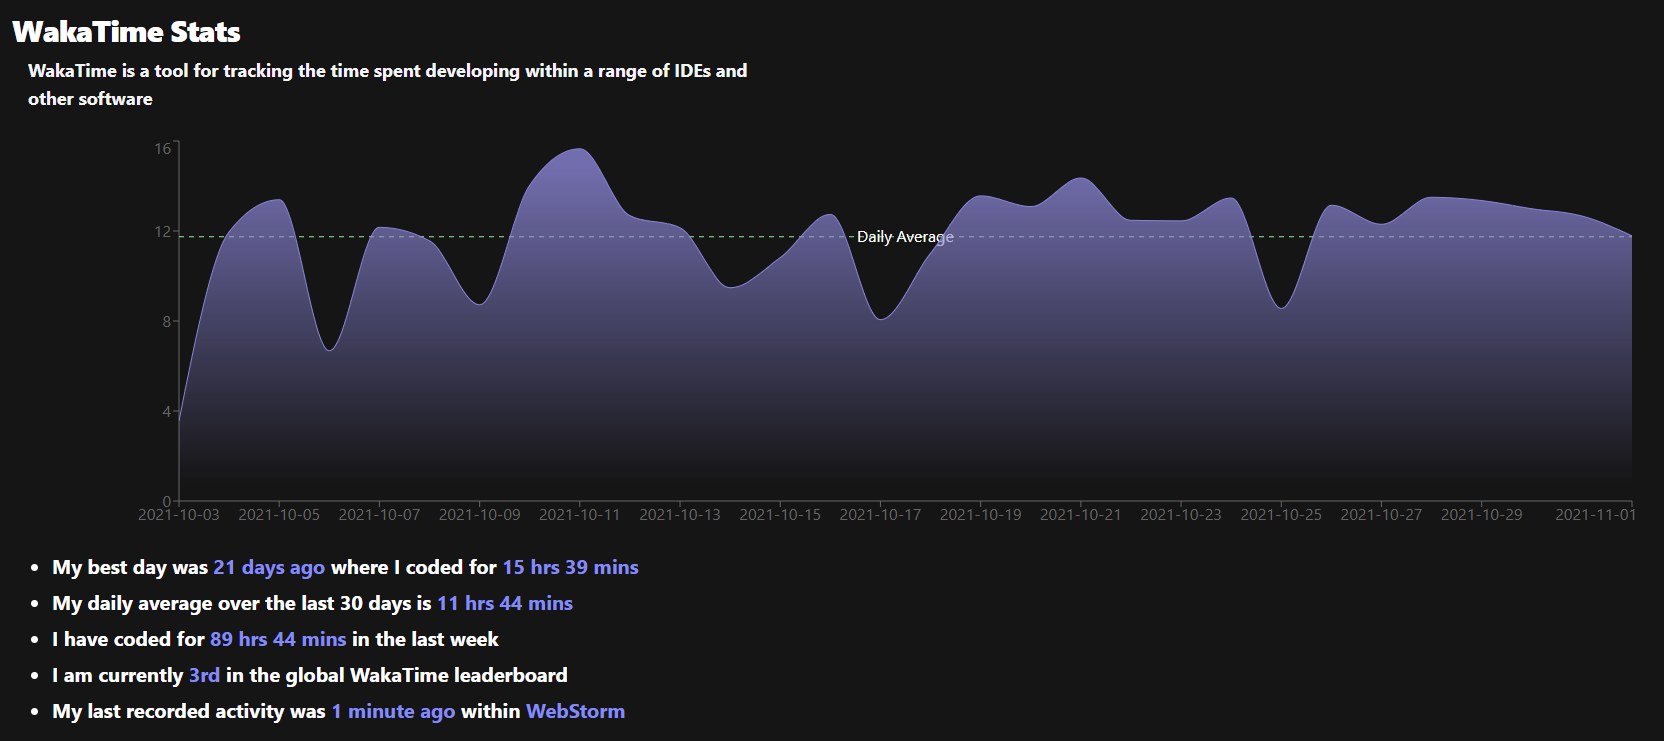
Several stats from various sources are displayed on the statistics page, mainly regarding development activity.
WakaTime
WakaTime is the tool I use to track the time I spend developing with in a range of programs and IDEs. It includes:
- A graph displaying my time spend developing over the last 30 days
- The highest time spend developing in a single day
- Daily average in the last week
- Time spend developing in the last 7 days
- Global WakaTime leaderboard position
- Last recorded activity.
GitLab/GitHub Stats
GitLab is my preferred Git platform for storing and managing my code, so most of my Git related activity will occur there. Both GitLab and GitHub stats include:
- How many contributions have been made over the last x consecutive days
- How many contributions have been made in the last year
- The day in which the most contributions were made (Within the last year)
- When the last contribution was
Passwordless Login
Passwordless login allows a user to login to the site using security keys or biometrics on mobile phones using the WebAuthn API. Since I don't own a physical security key, this is currently only tested to work with Touch ID/Face ID on Apple devices.
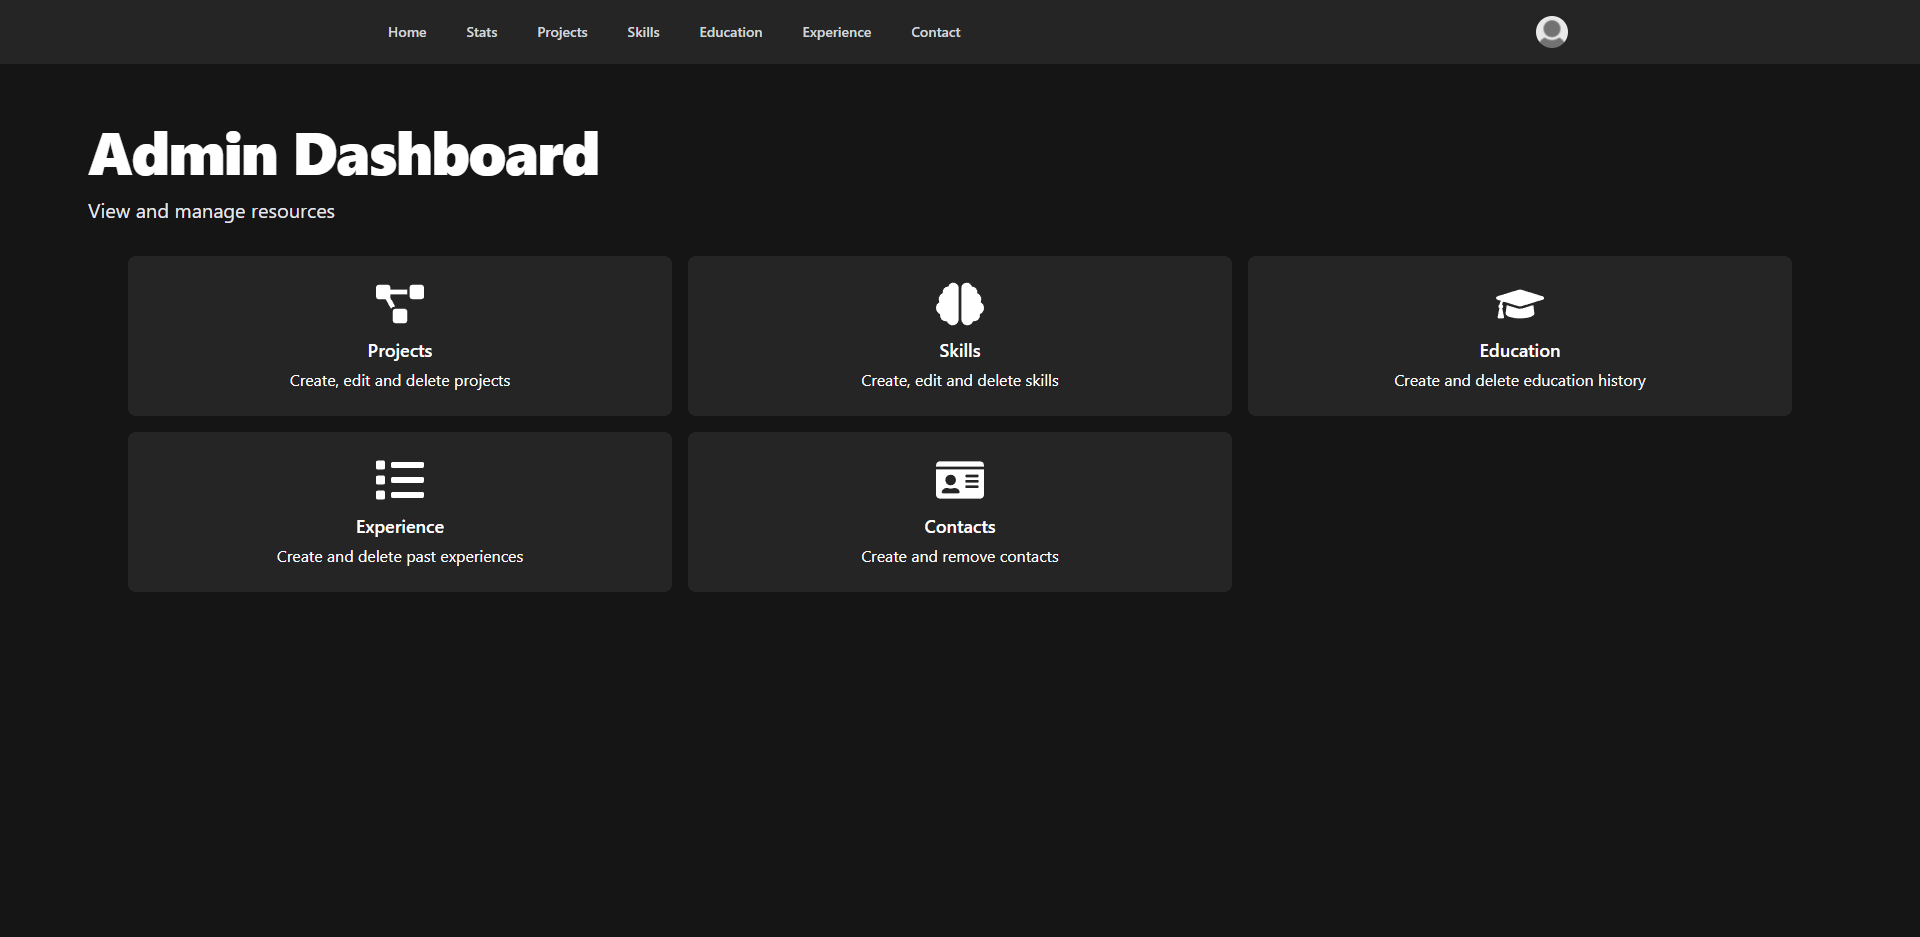
Full Admin Dashboard
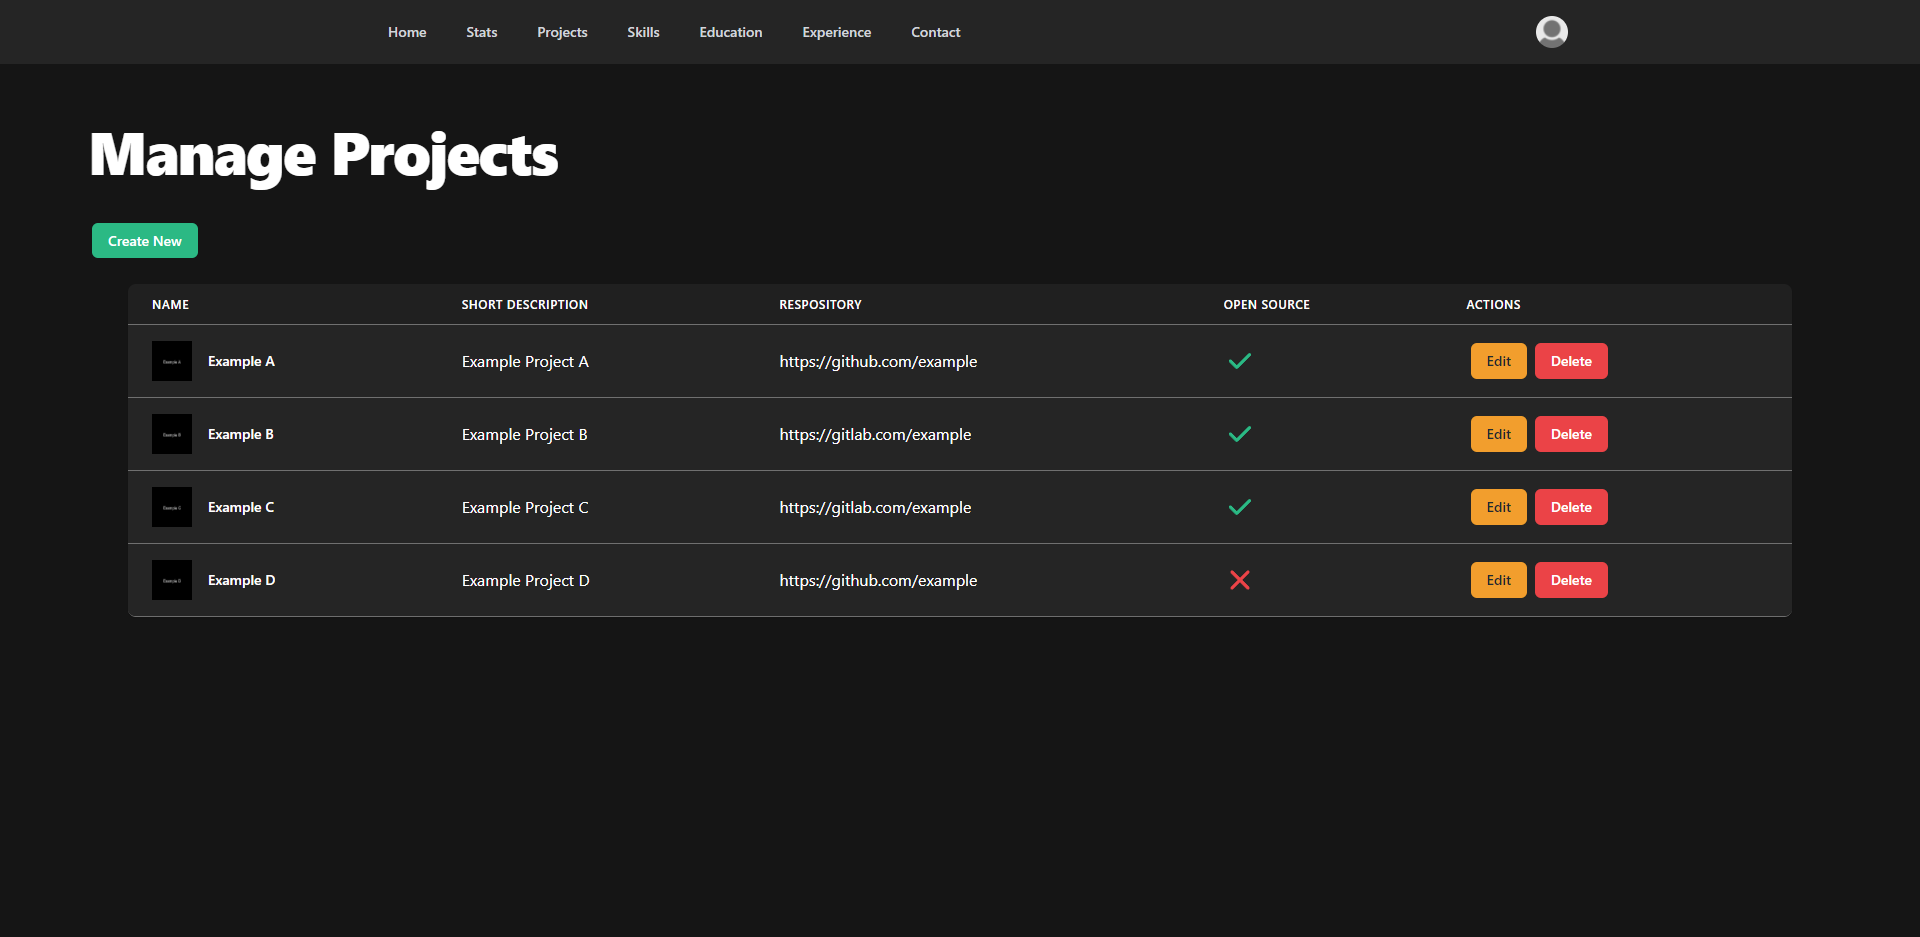
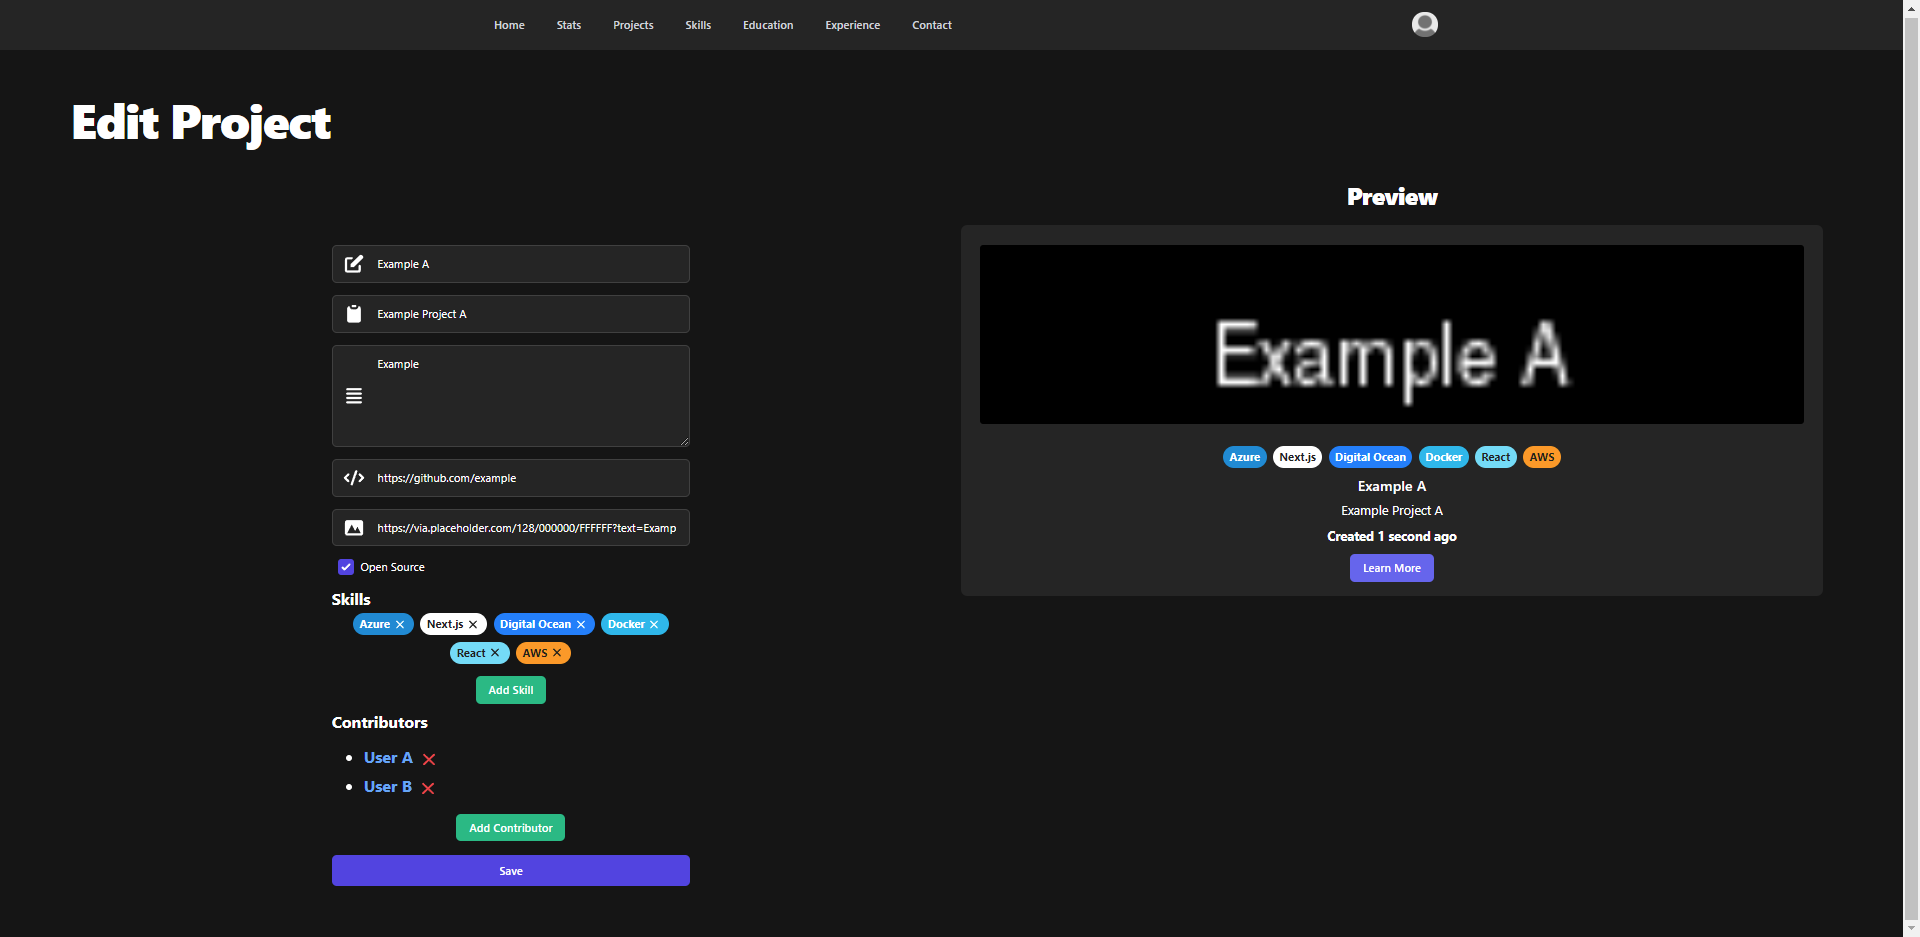
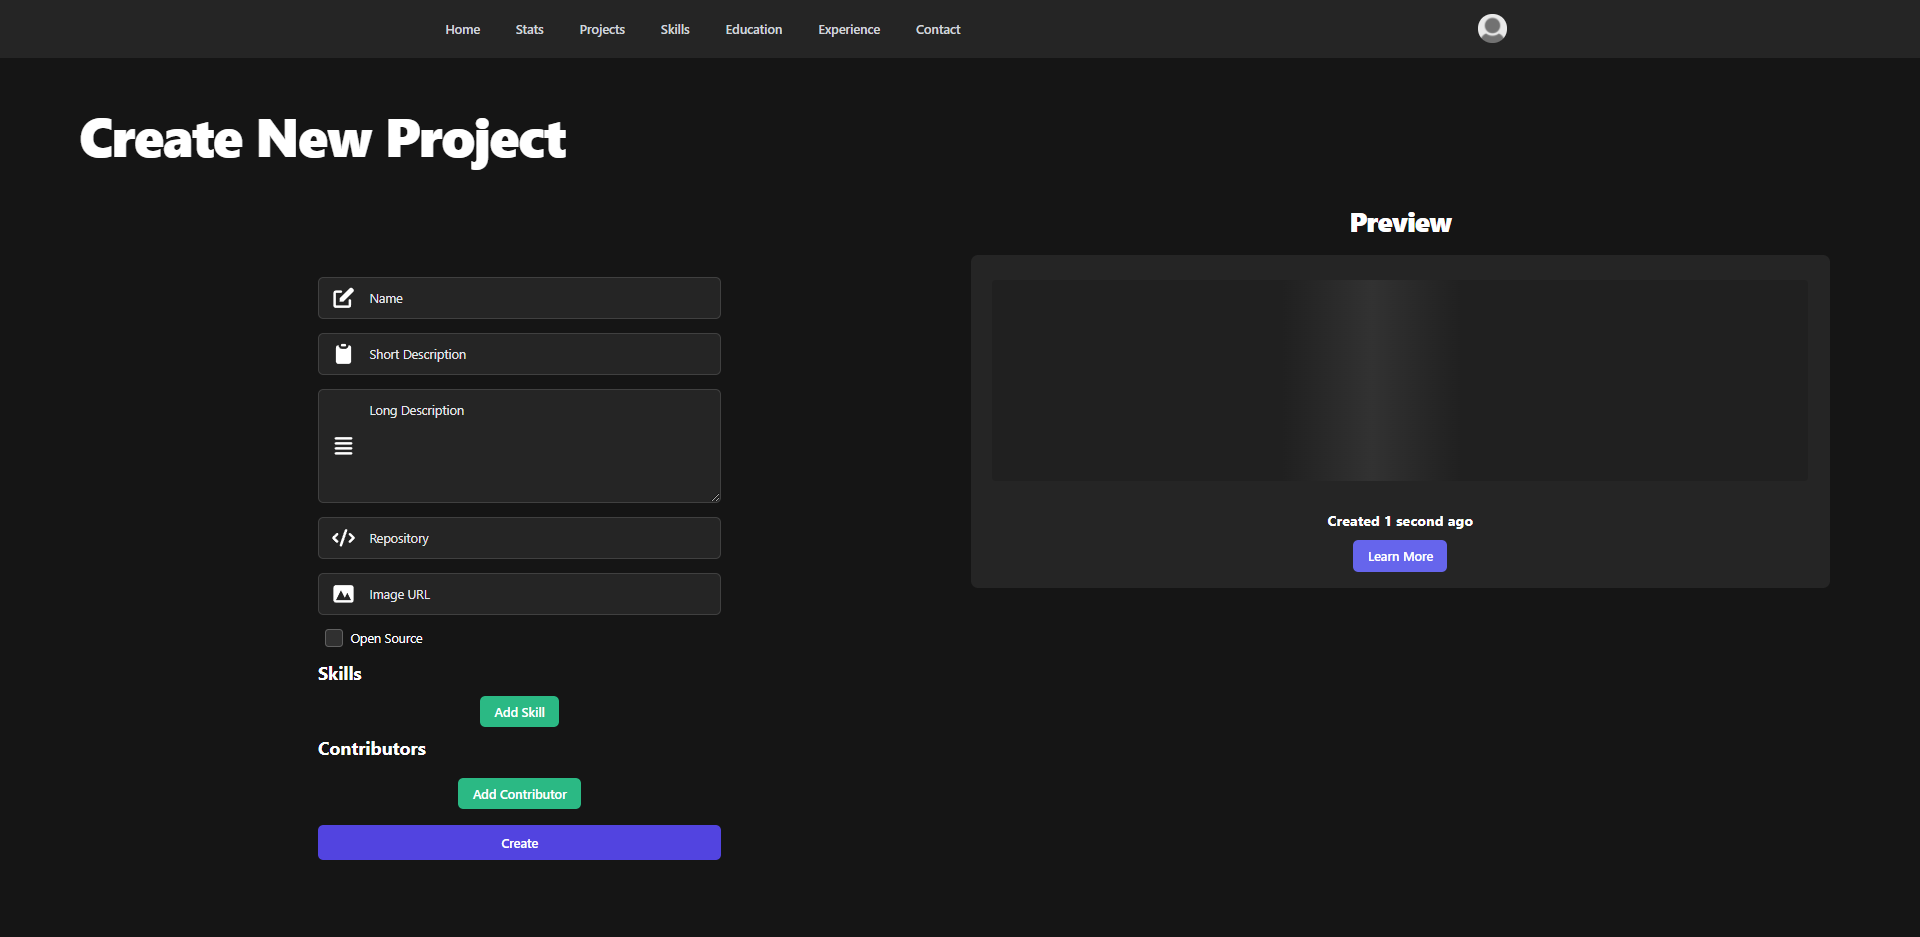
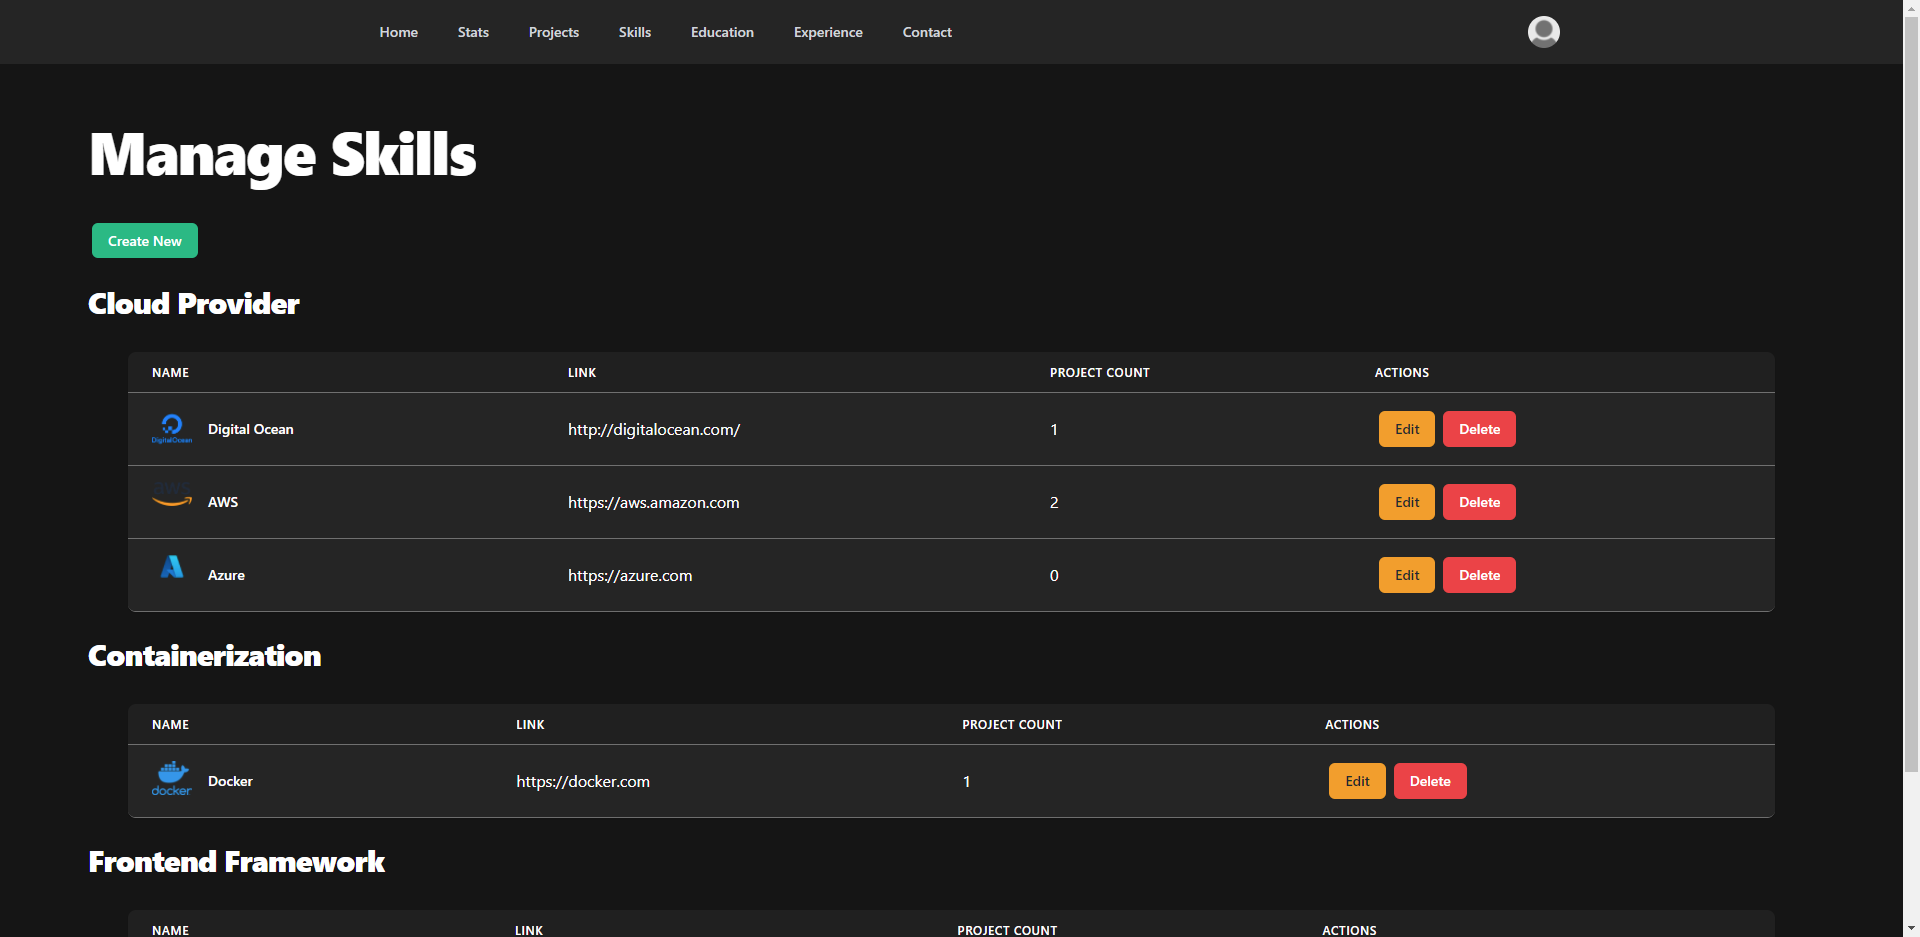
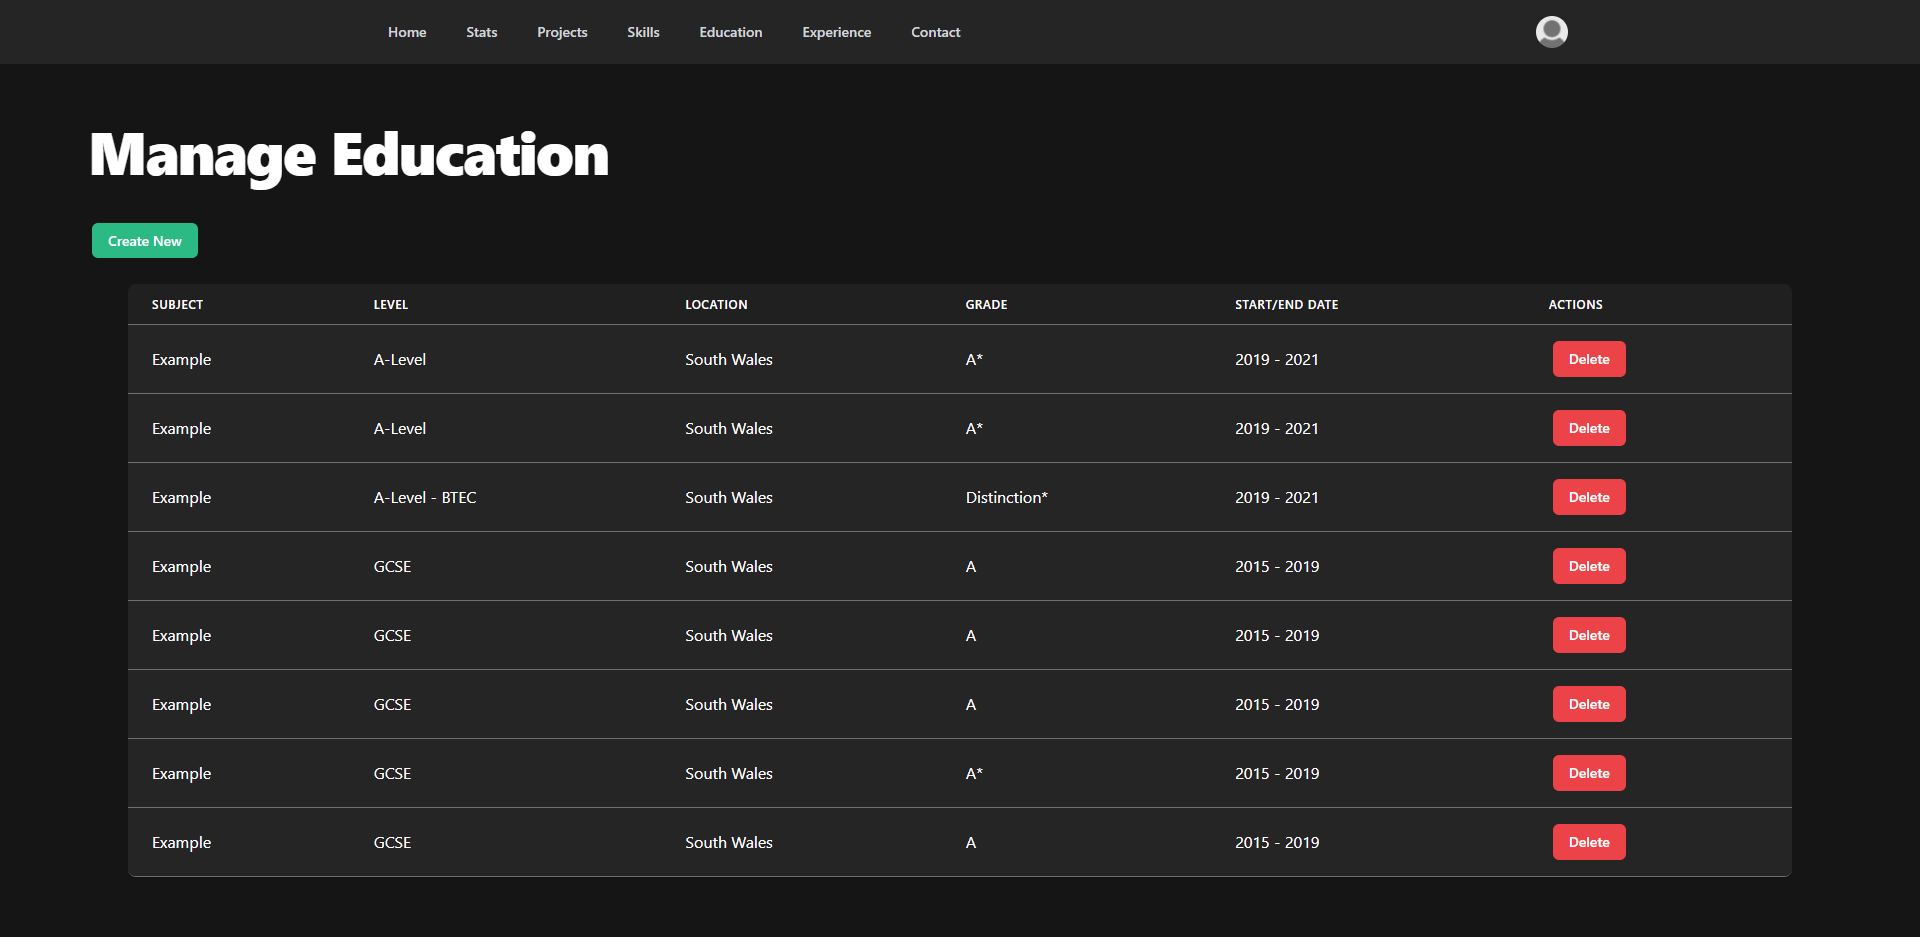
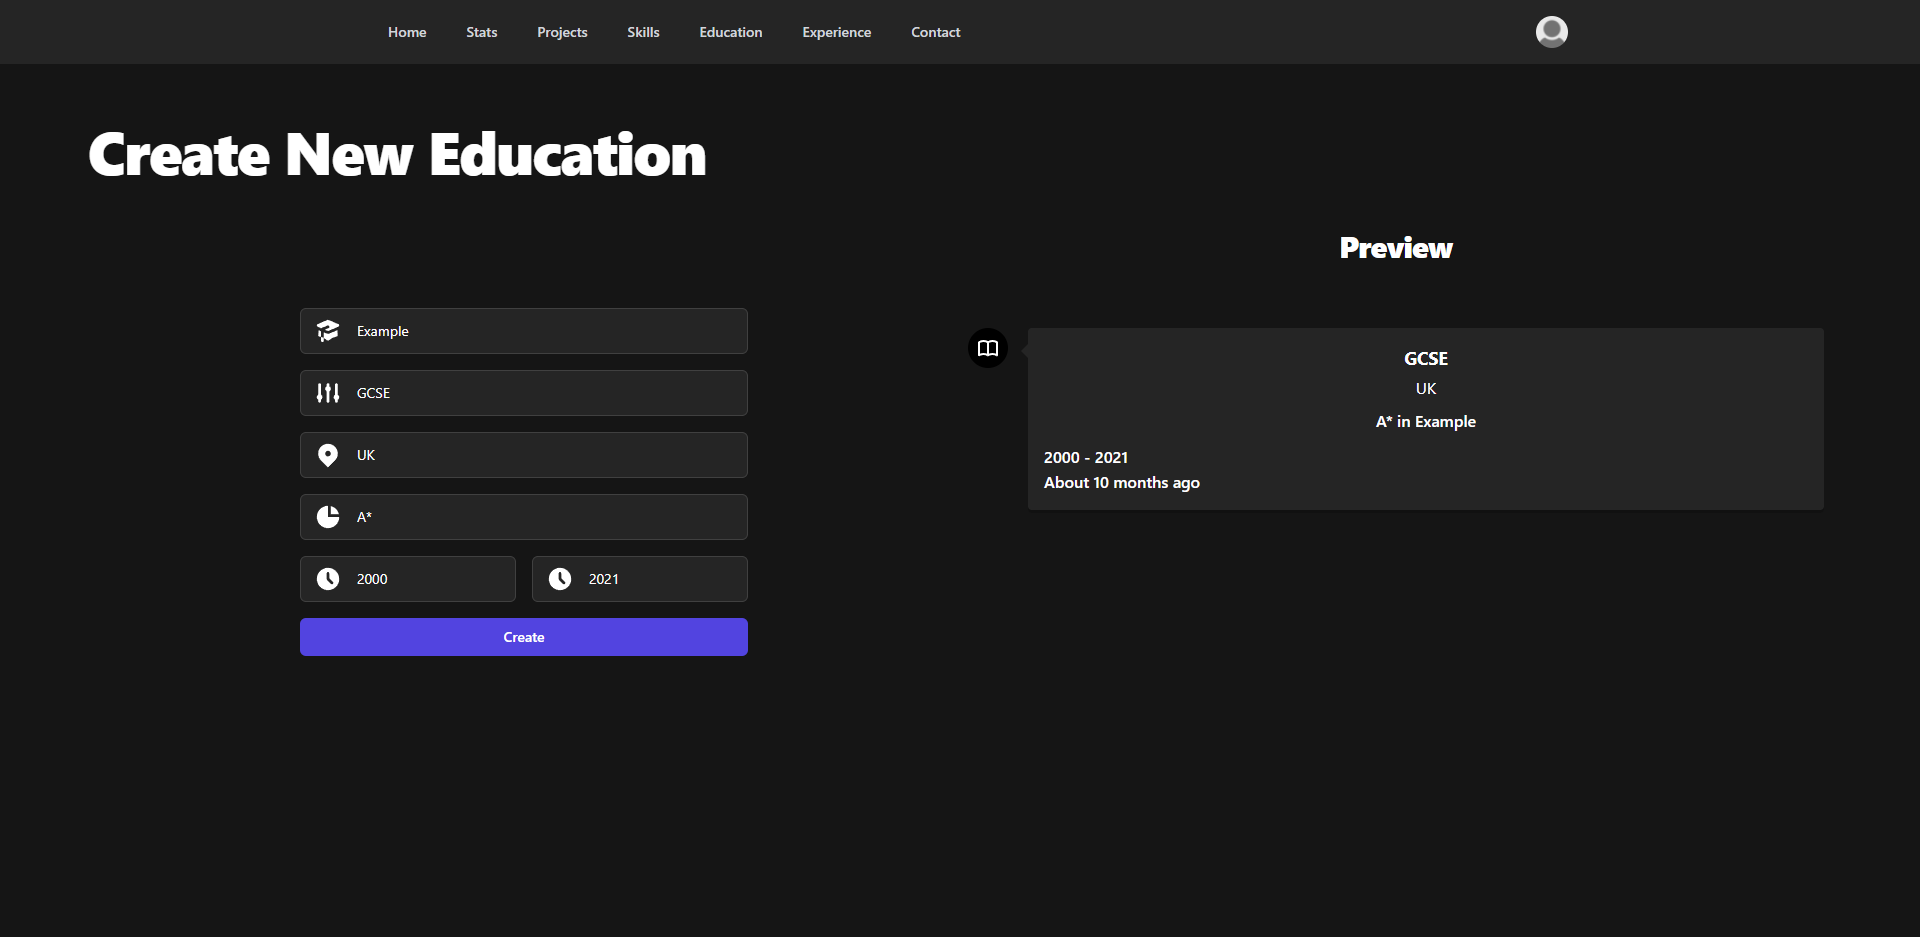
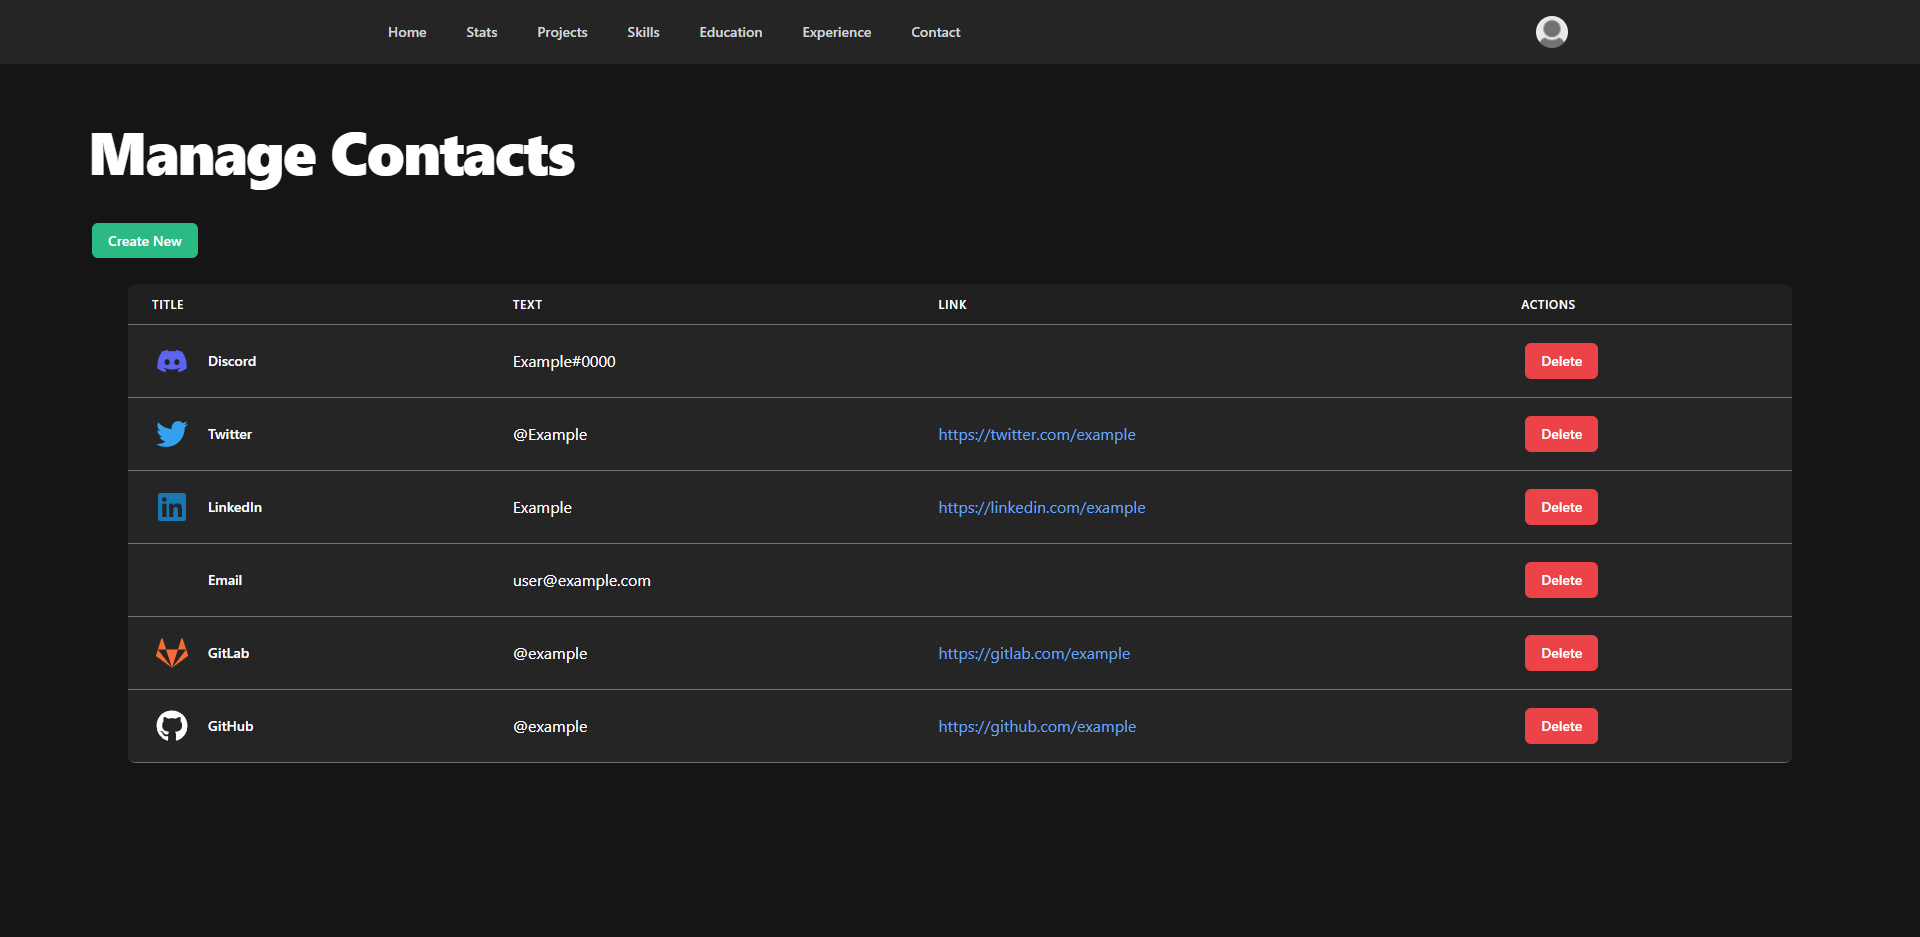
The admin dashboard contains pages to add, edit and remove each resource though an easy-to-use UI.
From the dashboard you can:
- Add new projects
- Edit existing projects
- Delete projects
- Add new skills
- Edit existing skills
- Delete skills
- Add education history
- Delete education history
- Add experience
- Remove experience
- Add contacts
- Remove contacts
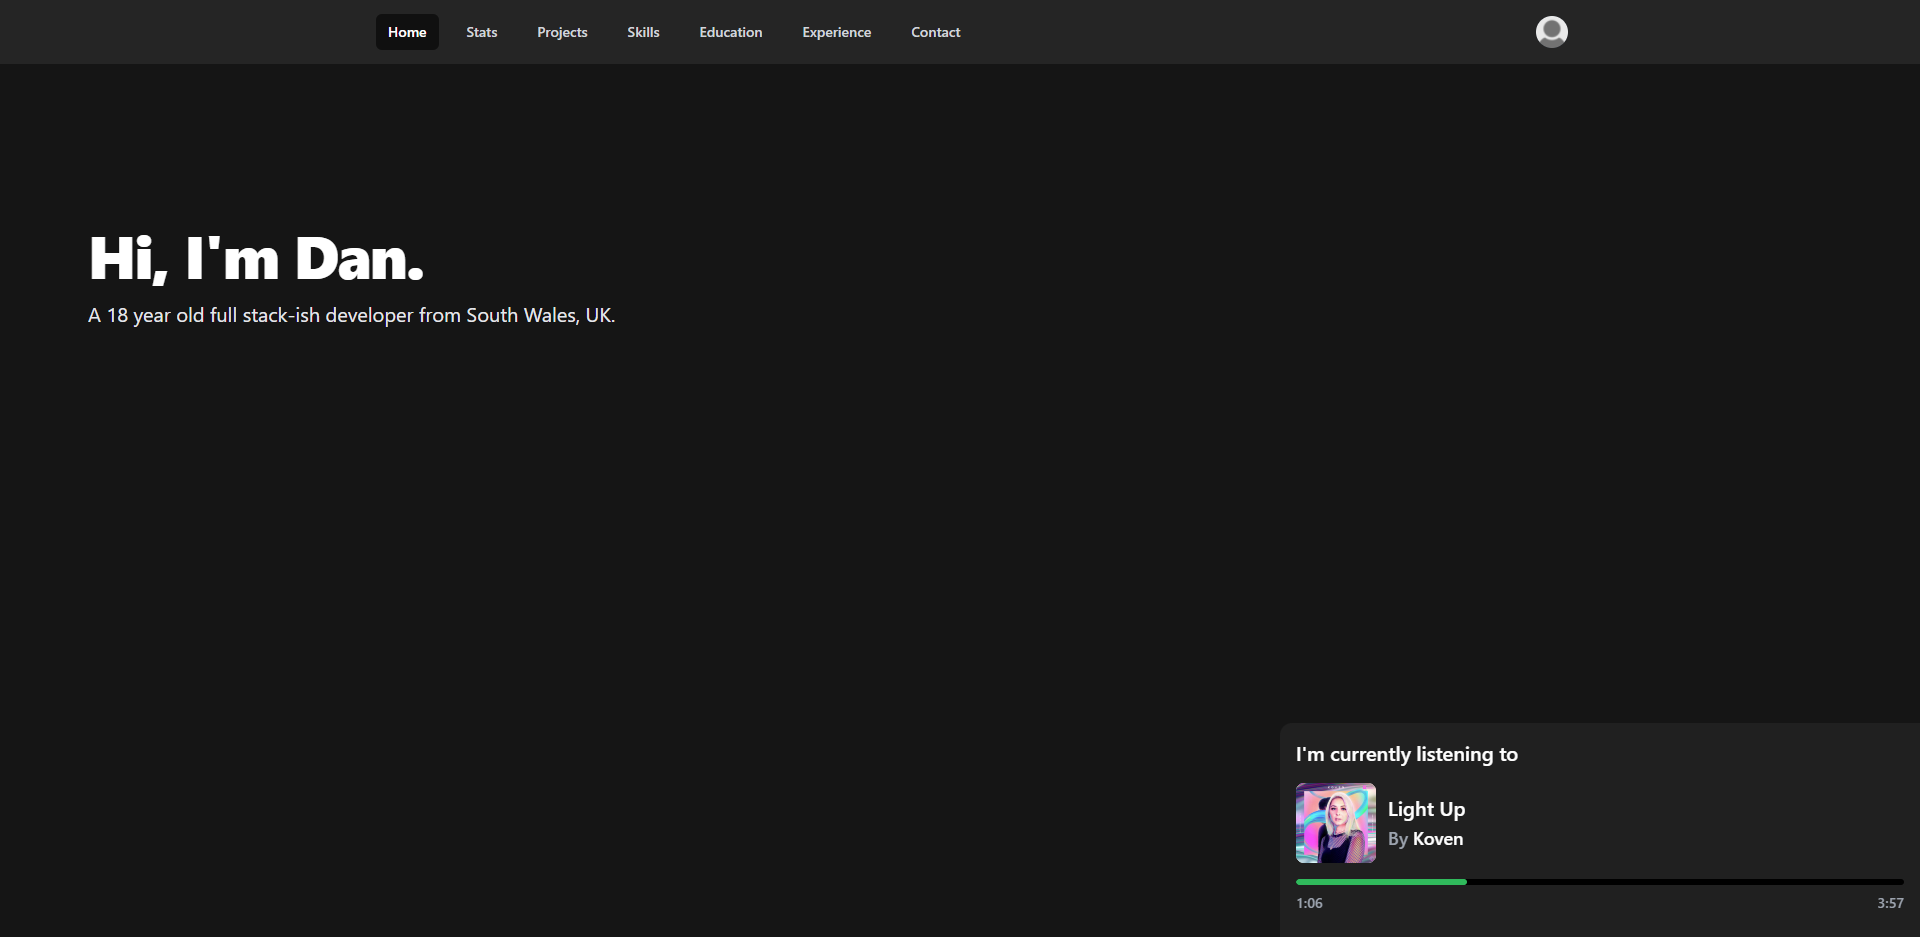
Spotify Status
Just a cool small feature to display my currently playing song on Spotify, on the landing page.
Setup
While this isn't a 100% generic portfolio (some parts are not dynamic and are specific to me), if you wish to use this portfolio as your own, you can fork it, make the required static changes and follow the deployment information below.
Before proceeding with the following setup, please ensure the dependencies are installed by
running npm install as some setup scripts use external packages.
Requirements
- NodeJS (I used v14)
- MySQL 5.7 Database
- Redis Instance
- Spotify Developer Application
- WakaTime Account
- GitLab Account
- GitHub Account
Database Setup
Create a schema in the database called portfolio and create a MySQL user that has permission
to use the portfolio schema. Run the SQL commands in
resources/databaseSchema.sql to create all the required tables.
You can then set the following environment variables regarding the database:
MYSQL_HOST - The IP of the database
MYSQL_DATABASE - The database schema name, portfolio unless using a different name
in the previous step
MYSQL_USERNAME - The username of the user created in the previous step
MYSQL_PASSWORD - The password of the user created in the previous step
MYSQL_PORT - The port of the MySQL server, unless manually changed, 3306
Redis Setup
Create your Redis URI for your instance using the following format:
In most cases, username can be left blank.
redis://[USERNAME]:[PASSWORD]@[IP]:[PORT]
For example:
redis://:password1234@1.2.3.4:6379
The REDIS_URI environment variable can then be set to this value.
Creating Users
Since any user account has full access to the admin dashboard, there is no register functionality
on the site itself, regular users have no need to have an account at all. Instead, you can use
the create-user script to walk you through some questions about the user.
The script will then output a table for each column in the database with the required value for
creating this user, as well as an SQL query for you to run to create the user.
To use this script, simply run npm run create-user.
Environment Variables
The ENVIRONMENT variable specifies which environment the app is currently running in. This
should be dev or prod. The only difference this makes is that GitLab, GitHub and WakaTime
stats are not cached in dev.
For details on the MYSQL_* variables, see Database Setup
For details on the REDIS_* variables, see Redis Setup
JWT Variables
Environment variables which begin with JWT_ are related to the generation and validation
of JSON Web Tokens, used for authentication.
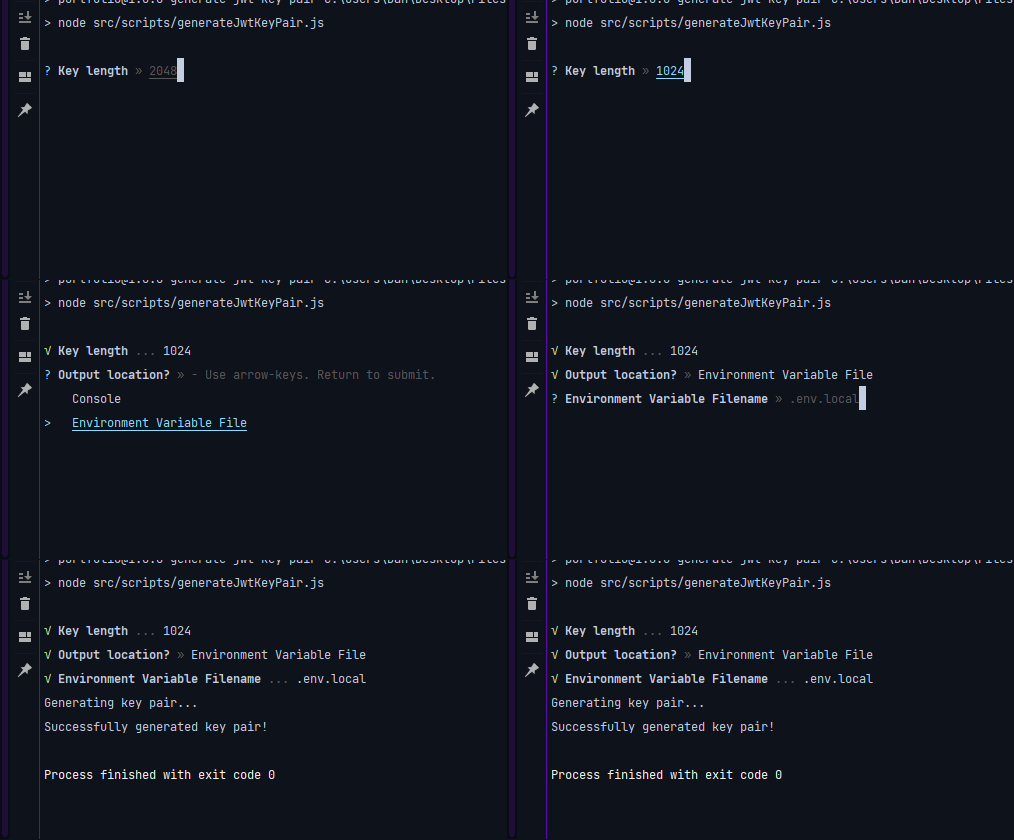
JWT_PRIVATE_KEY and JWT_PUBLIC_KEY are used to sign and verify the signature of tokens.
They can be generated using the npm run generate-jwt-key-pair script. This script will ask
you for the desired key length, I recommend 1024 or 2048 due to the Vercel environment
variable size limit (enforced by AWS). You will then be asked the output location of the
generated keys. If you select Console, the keys will simply be printed into the console,
where you can then copy-paste them wherever you need. Or, you can select
Environment Variable File which will then ask you the filename of the env file, .env.local
by default. The script will then insert the generated key pair into the environment variable file
in the correct format. If the variables exist, they will be replaced with the newly generated
keys, or they will be added to the end of the file.
Finally, set the AUTH_COOKIE_DOMAIN to the domain you are hosting the portfolio on.
For example, dantarr.dev.
Spotify Variables
To access the Spotify API to display the currently playing song on the landing page, you
will need to create a developer application
here. On the application dashboard, you
can find the Client ID at the top for the SPOTIFY_CLIENT_ID variable. Clicking the
SHOW CLIENT SECRET button will display the Client Secret value for the SPOTIFY_CLIENT_SECRET
variable.
SPOTIFY_REDIRECT_URI should be set to http://localhost as it is only used when running
locally to get initial credentials, which are then refreshed when required.
Before the Spotify integration will work, you will need to get an initial access token
and refresh token from Spotify. To begin, run npm run get-spotify-credentials. This script
should open the Spotify authorization page in your browser. Login to Spotify if needed,
authorize the app then you should be able to see in the console the SQL query to insert
the initial credentials into the database.
Note: Depending on your console, when copying the query which usually spans multiple lines, the new lines may also be included, which must be removed before the query is run
While it is often best practice to not store access tokens in plain text, I don't feel like
this is required in this instance due to the very limited scope of this token
(Only user-read-playback-state), and limited lifespan of the access token (1 hour, cannot
be refreshed without the Client Secret, which is not stored in the database)
WakaTime Variable
To get the statistics for WakaTime, your API key is needed. This can be found here under "API Key" at the top.
GitLab Variables
To get your GitLab statistics, there are 3 GitLab related environment variables that are needed.
The first is GITLAB_USERNAME which is simply the username of your GitLab account.
Your GitLab user ID is also required, however, it is not displayed anywhere on the UI. Providing
you are logged into GitLab, you can visit https://gitlab.com/api/v4/users?username=YOUR_USERNAME
in your browser to get your user ID. This value can then be put into the GITLAB_USER_ID
variable.
Finally, you require a personal access token. This token can be created on the
Access Tokens Page in your GitLab settings.
The required scopes are api and read_user. Once created, the personal access token
can then be used in the GITLAB_AUTH_TOKEN variable.
GitHub Variables
To get your GitHub statistics, there are 2 GitHub related environment variables that are needed.
The first is GITHUB_USERNAME which is simply the username of your GitHub account.
Secondly, you will need a personal access token to use the GitHub GraphQL API. This token
can be created from the Developer Settings Page.
Since this token is used to fetch when your last commit was made, it requires the repo and
user scope. I'm sure it doesn't need the whole of those scopes, and it could be made more
specific, however, I have not tested it. This token can then be used within the
GITHUB_AUTH_TOKEN variable.
WebAuthn Variable
The only WebAuthn variable required is WEBAUTHN_RP_ID. This is the "ID" of the relaying
party, which is simply the domain (and subdomain, if used) which the portfolio is hosted on.
For example, dantarr.dev.
Deployment
In production, my portfolio is deployed to Vercel. To run this project on Vercel, simply fork this repo and add a project on Vercel for the forked repo. Add the environment variables needed (Found in example.env) by going to your Vercel project > Settings > Environment Variables and following the Environment Variables Instructions.
If you don't want to use Vercel, you can deploy it anywhere that can run Node. Run npm run build
to build the Next.js project, then run npm run start to start the server. The site will then
be available at localhost:3000, which you can reverse proxy using something like
NGINX.
